This post contains affiliate links. This means that when you purchase through one of these links we will receive a small commission at no additional cost to you. Thank you for supporting Rich Texture Crochet!
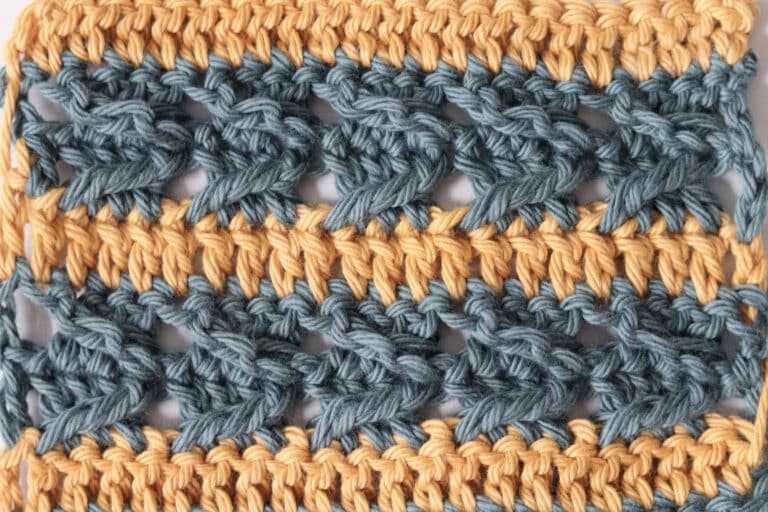
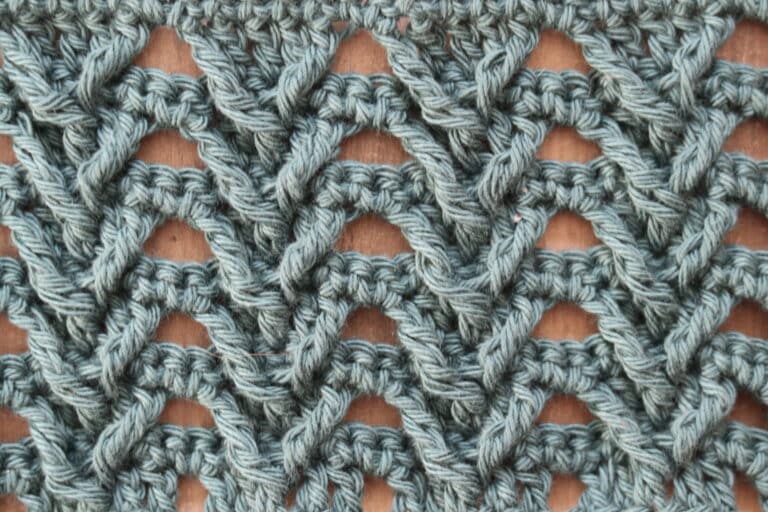
The Rake Stitch creates a wonderful solid textured fabric created by working rows on rows of spike stitches.
This stitch almost has a woven appearance. It is an easy stitch to work once you have the spike stitch down.
It can be worked in a variety of colours (I will work it in two colours in the tutorial below) or it can be worked in a solid colour.
One thing to be careful of when working this pattern is, with the spike stitches, you will need to pay careful attention to the tension in your stitches. Stitches that are worked too loose may look sloppy and uneven. On the other side, if you work your stitches too tightly then you risk the fabric bunching.
The video tutorial at the end of the pattern will share some tips on how to create the spike stitches!
This pattern contains affiliate links. This means that when you make a purchase through one of these links, Rich Textures Crochet will earn a small commission at no additional cost to yourself. Thank you for supporting Rich Textures Crochet!
 The Rake Stitch
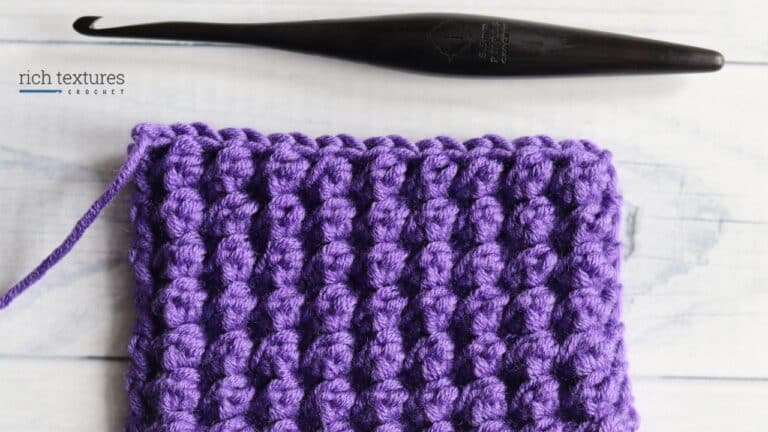
Materials:
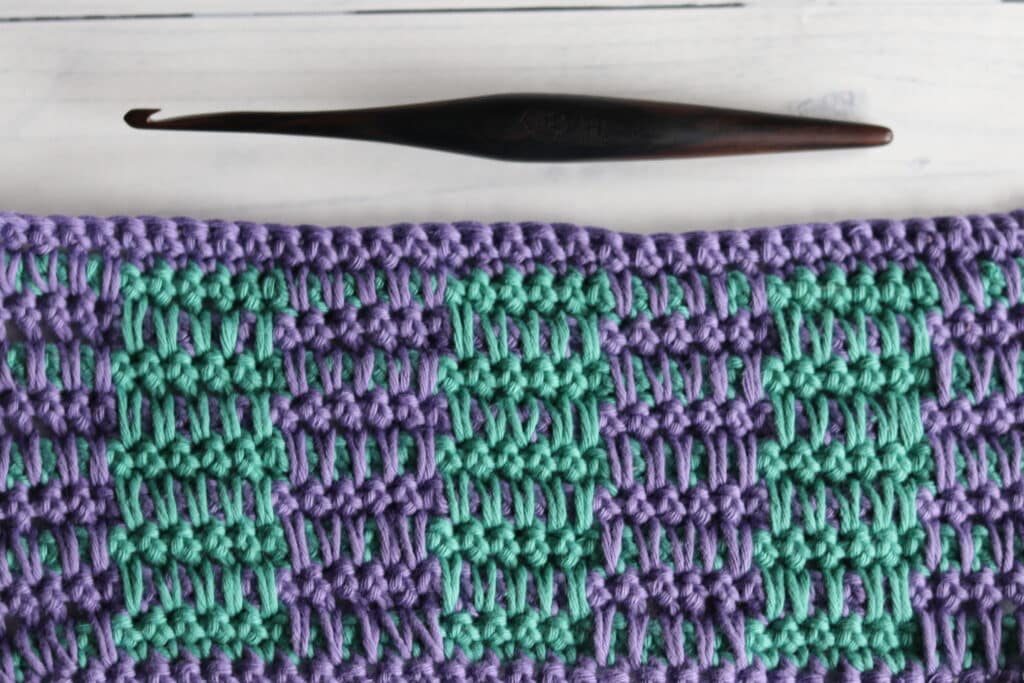
For this tutorial today I will be using a small amount of Cotton Aran by Paintbox Yarns. It is an aran weight yarn. The hook shown here and in the video below is a wooden streamline hook by Furls Crochet. However you may use any hook and yarn combination you choose.
Don’t forget to check out the video tutorial below!
The Rake Stitch
This stitch is worked in rows in this tutorial. At the end of each row you will need to chain one and turn your work. The chain one does not count as a stitch.
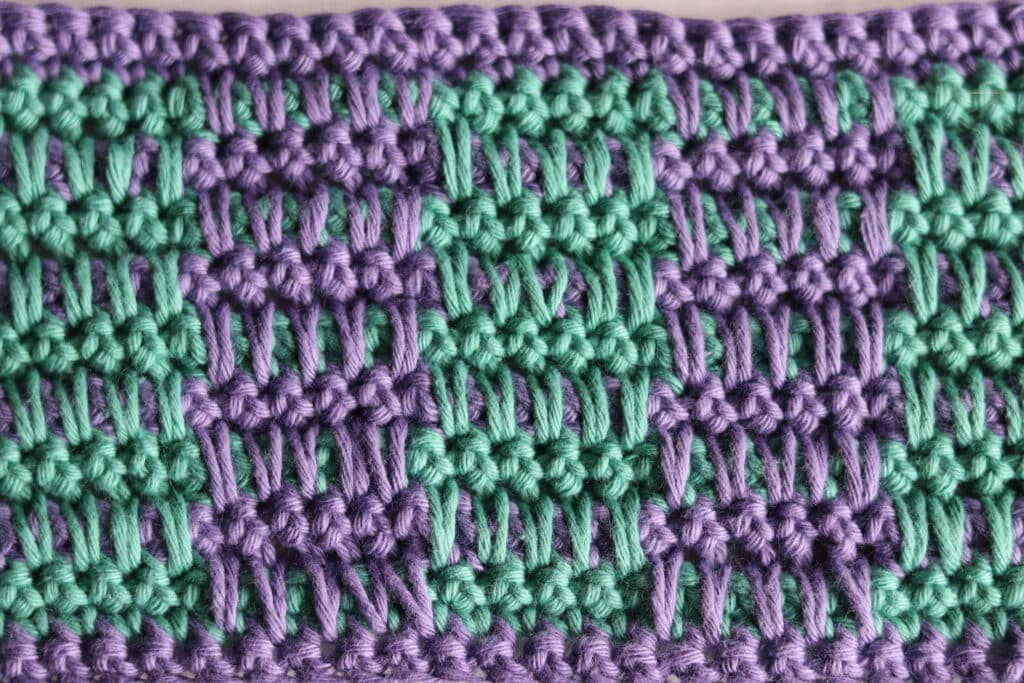
I will be using two different colours in this tutorial. My Colour A will be in purple, colour B in green.
To begin, using your colour A, make a slip knot and then chain your desired number of chains. For this stitch pattern you will need a multiple of ten stitches plus eight for your foundation chain.
Today I will chain a total of 28 chain stitches.
Row One:
Single crochet into the second chain from your hook and into each chain all the way across. At the end of row one, change to colour B.
To change to colour B, when you come to your final stitch, with colour A, insert your hook in the final stitch, yarn over and draw up a loop. Drop your colour A (there is no need to fasten off), pick up your colour B and place it on your hook. Draw your colour B through the two loops on your hook and you are all set to continue in your new colour.
Chain one and turn your work.
Row Two:
With Colour B, single crochet in the first stitch and in each stitch across.
Chain one and turn your work.
Row Three:
Single Crochet in the first stitch and in each stitch across. Change to colour A in the final stitch.
Chain one and turn your work.
Row Four:
With colour A, single crochet in the first stitch *[work one single crochet stitch in the next stitch but inserting your hook two rows below – this is a spike stitch] five times, single crochet in each of the next five stitches.
Repeat from * all the way across ending with five spike stitches. Single crochet in the final stitch.
Chain one and turn your work.
Row Five:
Single Crochet in the first stitch and in each stitch across. Change to colour B in the final stitch.
Chain one and turn your work.
Row Six:
With colour B, single crochet in the first stitch, * single crochet in each of the next five stitches, [work one single crochet stitch in the next stitch but inserting your hook two rows below – this is a spike stitch] five times.
Repeat from * across working one final single crochet in the final stitch.
Chain one and turn your work.
And that’s it!
For the rest of the pattern, repeat rows three to six for as long as you would like. Fasten off and weave in your ends.
Video Tutorial:
Thank you so much for stopping by! I you enjoyed this tutorial, you may also wish to check out the Chain Loop Stitch | How to Crochet. I look forward to seeing you next week for another stitch tutorial!
Happy Crocheting!
Sarah
The photographs and pattern contained in this document are the property of Rich Textures Crochet.
This pattern is for personal use only.
No unauthorized reproduction, in whole or in part, or distribution of this pattern or content is permitted. ALL FINISHED PRODUCTS from this pattern can be used for local sales and sold online.
Thank you so much for supporting Rich Textures Crochet! To stay in touch or see more great products, be sure to visit me on Facebook and Instagram (Rich Textures Crochet). Thanks again! Happy Crocheting!