
This post contains affiliate links. This means that when you purchase through one of these links we will receive a small commission at no additional cost to you. Thank you for supporting Rich Texture Crochet!
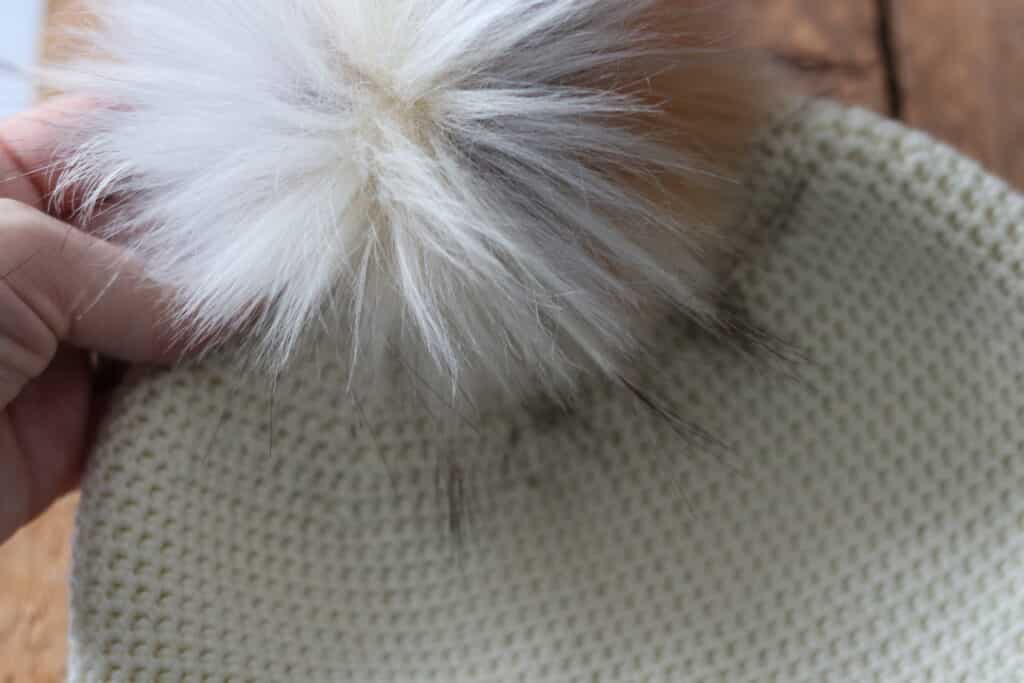
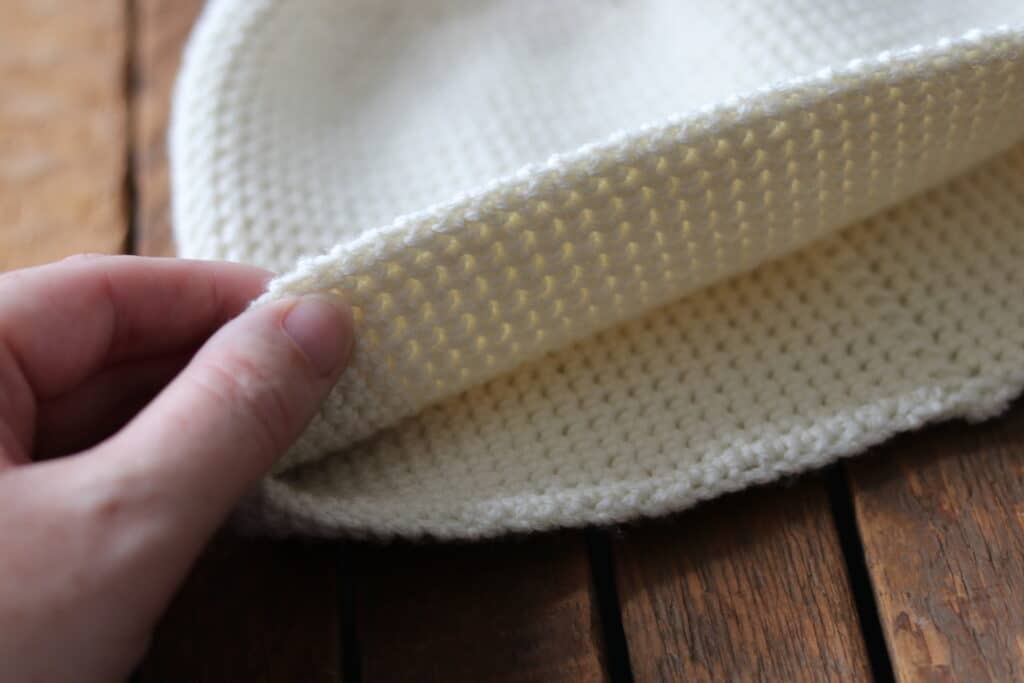
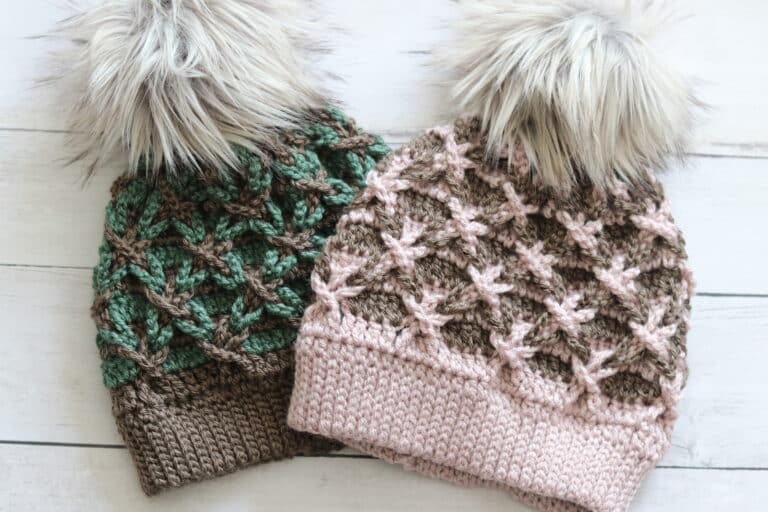
This Easy Thermal Beanie is easy to work, and so wonderful to wear! It is made using the single crochet thermal stitch making it warm without the bulk!
One of the things I love about this beanie is how clean and crisp it looks. I feel like it makes it a great beanie that can be worn with almost any outfit.
As mentioned above, this crochet hat is worked using the single crochet thermal stitch. I have worked it on one colour and it is designed to fit an adult woman’s head. No worries though, if you would like to change the size, it’s easy! All you have to do is work the foundation chain to the desired size. If you are looking for a men’s thermal beanie, you may wish to check out this one here: Men’s Thermal Beanie Crochet Pattern, it even has a matching scarf!
This post contains affiliate links. This means that when you make a purchase through one of these links, Rich Textures Crochet will earn a small commission at no additional cost to yourself. Thank you for supporting Rich Textures Crochet!

Materials:
For the hat, I will be using a lighter weight yarn by Lion Brand Yarn: Superwash Merino. It is a 100% wool yarn that has lots of bounce to it.
In the written pattern below I will explain how to work each of the stitches. However, if you run into trouble, be sure to also check out the free video tutorial.
PDF Downloads:
The pattern will be written out in full below, but if you would like to add this pattern to your library or purchase an ad free PDF, you may do so from either my Etsy or Ravelry Shop linked below:
Click here for the Easy Thermal Beanie on Etsy
Click here for the Easy Thermal Beanie on Ravelry
Thank you so much for stopping by, if you enjoyed this pattern, you may also like to check out my Grand Canyon Beanie Crochet Pattern which also has a matching scarf!
See you next time!
Sarah
The Easy Thermal Beanie:
Skill Level: Intermediate
Gauge: 24 stitches x 22 rows of thermal stitch = 4 inches
Finished Sizes: 10.5 x 8 inches laid flat – to fit an adult woman’s head (20-21 inch circumference)
Yarn: Superwash Merino by Lion Brand® (306 yds/280m; 3.5 oz/100g; 100% super wash merino wool; (3) light weight). You will need about 400 yards (1.5 balls) of 1 colour.
Hook: Size G (4 mm) hook.
Notions: Yarn Needle, stitch marker.
Stitches and Abbreviations:
Blo – Back Loop Only
Ch – Chain
Rpt – Repeat
Alt ts2tog – Alternate Thermal Stitch Two Together (Insert your hook into the back loop only of the next st and also the back loop only of the stitch 2 rows below. Yarn over and draw up a loop, insert your hook into the back loop only of the next stitch two rows below, yarn over and draw up a loop. Yarn over and draw through 3 loops on hook. Alternate Thermal stitch two together made)
Sc – Single Crochet
Sk – Skip
Sl st – Slip Stitch
Ts – Thermal Stitch (Insert your hook into the back loop only of the next st and also the back loop only of the stitch 2 rows below. Yarn over and draw up a loop. Yarn over and draw through 2 loops on hook. Thermal stitch made)
Ts2tog – Thermal Stitch Two Stitches Together ([Insert your hook into the back loop only of the next st and also the back loop only of the stitch 2 rows below. Yarn over and draw up a loop] twice. Yarn over and draw through 3 loops on hook. Thermal stitch two together made)
Yo – Yarn over
Pattern Notes:
- Pattern is written in American English terms.
- Pattern is worked in rounds, you will need to turn at the end of each round.
- Ch 1 at beginning of row does not count as stitch.
- Weave in ends as needed.
- Using a stitch marker, I recommend marking the last st in each round as they sometimes pull too tight to see while working.
- To change the size of your beanie, I recommend increasing or decreasing your foundation chain in multiples of 10.
Free Crochet Pattern:
Ch 120. Without twisting, join yarn with a sl st in the first st to make a ring.
Rnd 1: Ch 1, working in the blo of each ch st, sc in the same st as joining and in each ch all the way around, join with a sl st in the first st. Ch 1, turn. (Note: to make it easier to see the final stitch when working the next row, mark the first stitch through the front loops of the stitch and the chain below with a stitch marker. Continue to do so in each round).
Rnd 2: Ts (see “stitches and abbreviations”) in the first st and in each st around. Join with a sl st in the first st and mark it. Ch 1, turn.
Rnds 3-52: Ts in the first st and in each st around. Join with a sl st in the first st and mark it. Ch 1, turn.
Decrease Rounds (to form the top of the hat):
Rnd 1: Ts in the first st and each of the next 7 sts, ts2tog (see “stitches and abbreviations”), *ts in each of the next 8 sts, ts2tog; Rpt from * around, join with a sl st in the first st. Ch 1, turn. (108 sts)
Rnd 2: *Alt ts2tog (see “Stitches and Abbreviations), ts in each of the next 8 sts; rpt from * around, join with a sl st in the first st. Ch 1, turn. (108 sts)
Rnd 3: Ts in each st all the way around, join with a sl st in the first st. Ch 1, turn. (108 sts)
Rnd 4: Ts in the first st and each of the next 6 sts, ts2tog, *ts in each of the next 7 sts, ts2tog; Rpt from * around, join with a sl st in the first st. Ch 1, turn. (96 sts)
Rnd 5: *Alt ts2tog, ts in each of the next 7 sts; rpt from * around, join with a sl st in the first st. Ch 1, turn.
Rnd 6: Ts in each st all the way around, join with a sl st in the first st. Ch 1, turn.
Rnd 7: Ts in the first st and each of the next 5 sts, ts2tog, *ts in each of the next 6 sts, ts2tog; Rpt from * around, join with a sl st in the first st. Ch 1, turn. (84 sts)
Rnd 8: *Alt ts2tog, ts in each of the next 6 sts; rpt from * around, join with a sl st in the first st. Ch 1, turn.
Rnd 9: Ts in each st all the way around, join with a sl st in the first st. Ch 1, turn.
Rnd 10: Ts in the first st and each of the next 4 sts, ts2tog, *ts in each of the next 5 sts, ts2tog; Rpt from * around, join with a sl st in the first st. Ch 1, turn. (72 sts)
Rnd 11: *Alt ts2tog, ts in each of the next 5 sts; rpt from * around, join with a sl st in the first st. Ch 1, turn.
Rnd 12: Ts in each st all the way around, join with a sl st in the first st. Ch 1, turn.
Rnd 13: Ts in the first st and each of the next 3 sts, ts2tog, *ts in each of the next 4 sts, ts2tog; Rpt from * around, join with a sl st in the first st. Ch 1, turn. (60 sts)
Rnd 14: *Alt ts2tog, ts in each of the next 4 sts; rpt from * around, join with a sl st in the first st. Ch 1, turn.
Rnd 15: Ts in each st all the way around, join with a sl st in the first st. Ch 1, turn.
Rnd 16: Ts in the first st and each of the next 2 sts, ts2tog, *ts in each of the next 3 sts, ts2tog; Rpt from * around, join with a sl st in the first st. Ch 1, turn. (48 sts)
Rnd 17: *Alt ts2tog, ts in each of the next 3 sts; rpt from * around, join with a sl st in the first st. Ch 1, turn.
Rnd 18: Ts in each st all the way around, join with a sl st in the first st. Ch 1, turn.
Rnd 19: Ts in the first st and the next st, ts2tog, *ts in each of the next 2 sts, ts2tog; Rpt from * around, join with a sl st in the first st. Ch 1, turn. (36 sts)
Rnd 20: *Alt ts2tog, ts in each of the next 2 sts; rpt from * around, join with a sl st in the first st. Ch 1, turn.
Rnd 21: Ts in each st all the way around, join with a sl st in the first st. Ch 1, turn.
Rnd 22: Ts in the first st, ts2tog, *ts in the next st, ts2tog; Rpt from * around, join with a sl st in the first st. Ch 1, turn. (24 sts)
Rnd 23: *Alt ts2tog, ts in the next st; rpt from * around, join with a sl st in the first st. Ch 1, turn.
Rnd 24: Ts in each st all the way around, join with a sl st in the first st. Ch 1, turn.
Rnd 25: Ts2tog all the way around. Join with a sl st in the first st. Ch 1, turn. (12 sts)
Rnd 26: Alt ts2tog all the way around. Join with a sl st in the first st. Ch 1, turn.
Rnd 27: Ts in each st around. Join with a sl st in the first st.
Fasten off leaving a long tail. Using the long tail, sew the top of the hat closed. Fasten off, weave in your ends.
Video Tutorial:
The photographs and pattern contained in this document are the property of Rich Textures Crochet.
This pattern is for personal use only.
No unauthorized reproduction, in whole or in part, or distribution of this pattern or content is permitted. ALL FINISHED PRODUCTS from this pattern can be used for local sales and sold online.
Thank you so much for supporting Rich Textures Crochet! To stay in touch or see more great products, be sure to visit me on Facebook and Instagram (Rich Textures Crochet). Thanks again! Happy Crocheting!


I would love to make this for my 1 year old grandson. Could you give me some guidelines as to how to measure for a fit for him?
This pattern is probably beyond my abilities but I’ll never learn if I don’t try new things. Should the first 2 rows comfortably fit the head of the future hat wearer? Or should it be looser?
It should be looser as when you work into it, it tightens
You could make a square and close the sides and one end to be a beanie . That is what I’m doing if I’m unsure how to crochet it perfectly round .
Love this hat! I just purchased five hat patterns from your Etsy store. Your designs are modern and beautiful. Thank you for the tutorials too! I can’t wait to get started!
Thank you so much for your purchase and enjoy the hats!
Beautiful stitch – so neat and refined! Could you tell us how many stitches at the end of each of the decrease rows? Thank you.
I don’t understand the math of the gauge and the math of the rows worked.
Your gauge says 22 rows = 4”
Then you have us work 52 rows, which should be about 9.45” in height according to your gauge.
And the finished hat is only 10.5” total.
But then we work another 27 rows to decrease? That should add another 5” of height, no?
Or do the decrease rows not have the same gauge as the rest?