This post contains affiliate links. This means that when you purchase through one of these links we will receive a small commission at no additional cost to you. Thank you for supporting Rich Texture Crochet!
Every February it seems I have the same problem! Lost mittens!
It started around mid-January, right after the kids return to school from Christmas Break. And it’s nearly impossible to find them in stores. I’m not sure what happens to them, maybe the washer eats them or they are swallowed by the school’s lost and found pit.
Well, whatever the reason, I needed more. This is how the Textured mittens came to be!
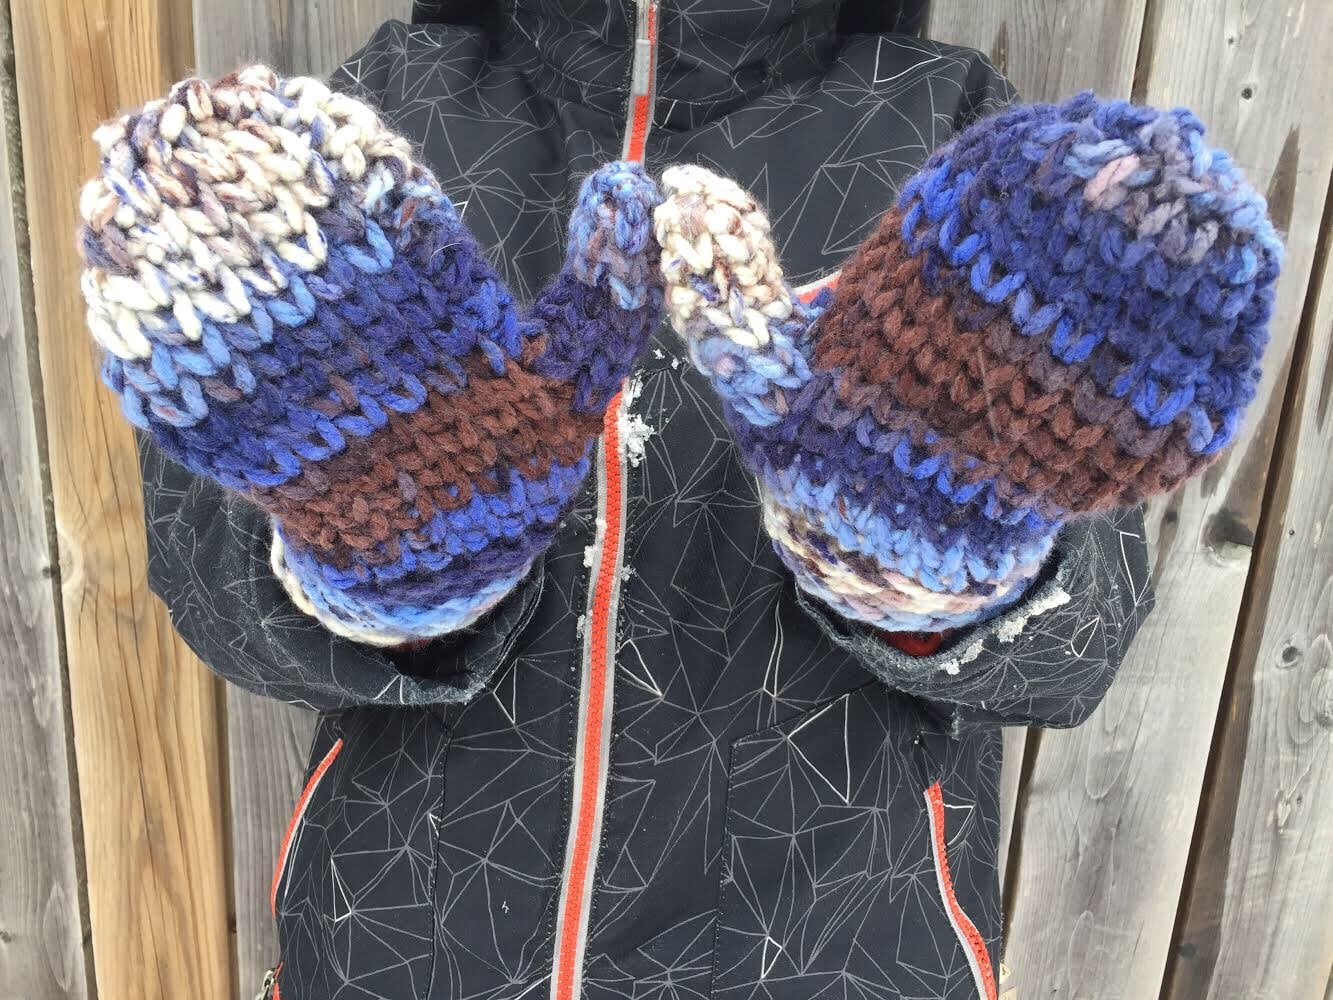
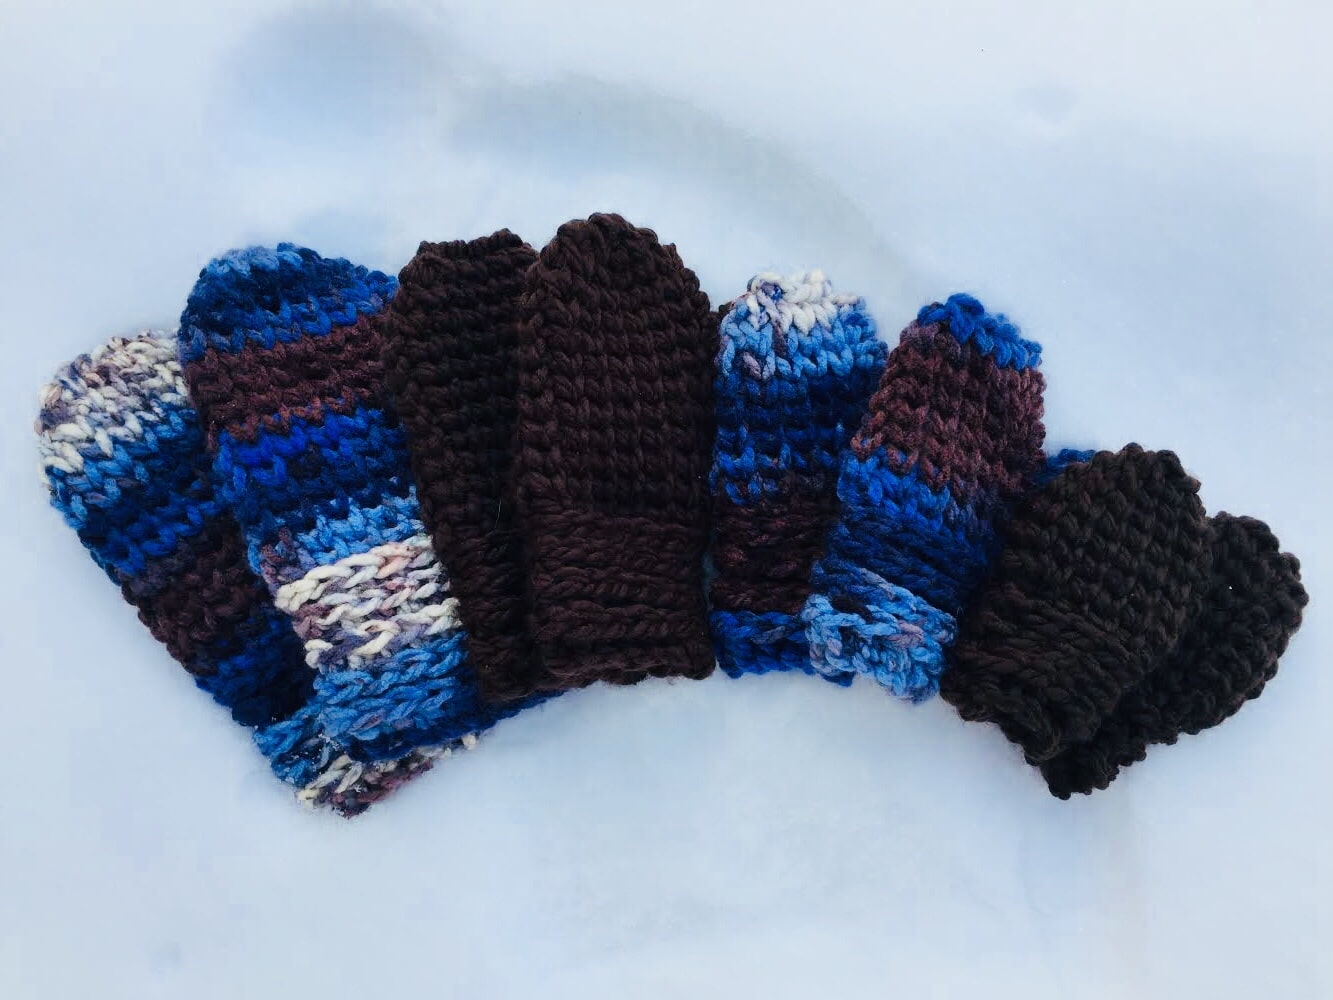
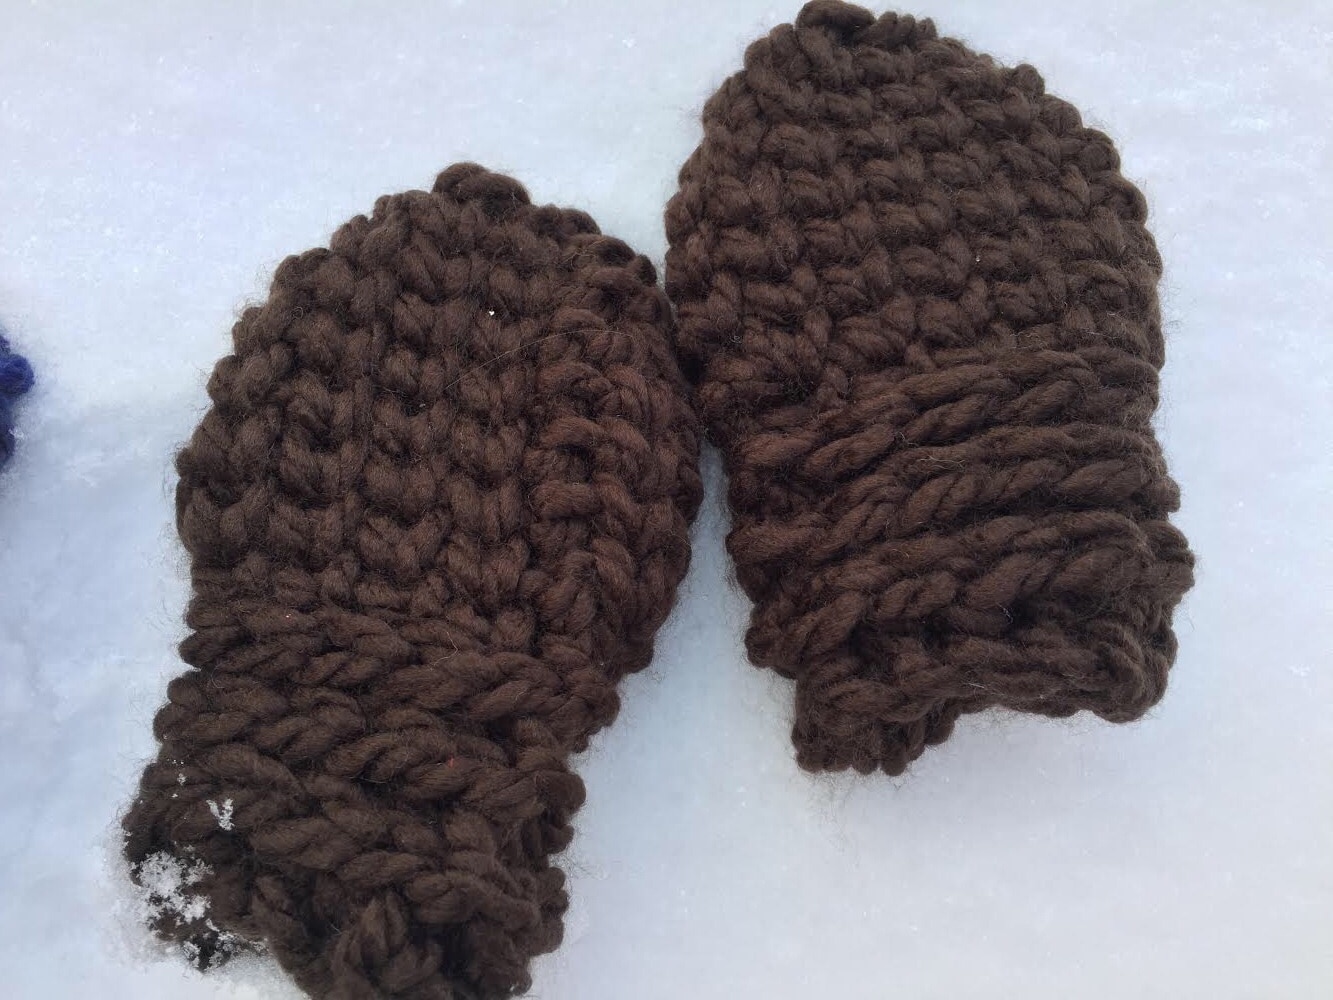
I have developed four sizes, including a baby thumbless pair. They are made with the Loops and Threads Charisma Yarn (Bulky) and an 8mm Hook. They are quick to make up!
You’ll find the complete pattern for all sizes below. But if you would like to add them to your favourites or purchase an ad free version, you may do so here: RAVELRY or ETSY
Don’t forget to follow me on Facebook at:
http://www.facebook.com/richtextures/
Happy Crocheting!
Skill Level: Easy
Gauge: 2 ks x 2 ks = 1 inch
Finished Size:
Baby: 4.5 in. tall, 6 in. circumference at widest point
Toddler: 6 in. tall, 7 in. circumference at widest point
Small: 7 in. tall, 8 in. circumference at widest point
Medium: 8.5 in. tall, 9 in. circumference at widest point
Yarn: 1 Ball Loops & Threads Charisma™ (%100 acrylic, 3.5oz. skein, 109 yds). Bulky Weight.
You may substitute this yarn for any other Bulky weight yarn such as Bernat Softee Baby Chunky™ by Yarnspirations™
Hook: Size L-11 (8 mm) Hook. Adjust hook size if necessary to obtain correct gauge.
Notions: Yarn Needle, stitch markers.
Skill Level: Easy
Gauge: 2 ks x 2 ks = 1 inch
Stitches and Abbreviations:
Ch – Chain
Hdc – Half double crochet
Knit Stitch (ks) – Also called the “waistcoat stitch,” the knit stitch is a single crochet worked through the middle of the single crochet or knit stitch of the previous round. Because you are working your stitch through the middle of the stitch in the previous round and pulling your loop up through the center, a knit look is created.
Knit Stitch 2 together (ks2tog) – Work the ks2tog as you would the sc2tog, but working through the space in the stitch of the previous round that you would typically work a knit stitch.
Rpt – Repeat
Sc – Single Crochet
Sk – Skip
Sl st – Slip stitch
Pattern Notes:
– Pattern is written in American English terms.
– Ch 1 at beg of rnd does not count as sc or hdc.
– Weave in ends as needed.
– I find the knit stitch works best when your tension is kept quite loose. Loose stitches allow for you to insert the hook in the proper space more easily.
– To work in the 3rd loop: In the hdc stitch, the “third loop” is found at the back of the stitch, below the top two loops that you would normally complete your stitch in. When you crochet in this back loop, it should push the top of the stitch from the previous round to the front of your work creating a sideways “knit” look.
Pattern:
Mittens (Make 2):
Baby (Thumbless) Size:
Ch 10. Being careful not to twist ch, join with a sl st in first chain to make a round.
Rnd 1: Ch 1, hdc in each ch around. Join with a sl st in first sc. (10 sts).
Rnds 2-3: Ch 1, working in the 3rd loop, hdc in each st around. Join with a sl st in the first hdc. (10 sts).
Rnd 4: Ch 1, working in the 3rd loop, loosely sc in in each st around. Join with a sl st. (10 sts).
Rnd 5: Ch 1, ks in the first 4 sts, 2 ks in the next st, ks in the next 4 sts, 2 ks in the last st. Join with a sl st. (12 sts)
Rnds 6-8: Ch 1, ks in each st around. Do not join but continue working being sure to move stitch marker up as work progresses. (12 sts).
Rnd 9: Ch 1, ks in the next 4 sts, ks2tog, 1 ks in the next 4 sts, ks2tog. Join with a sl st in first st. (10 sts)
Rnd 10: Ch 1, ks in the next 3 sts, ks2tog, 1 ks in the next 3 sts, ks2tog. Join with a sl st in first st. (8 sts)
Rnd 11: Ch 1, ks in the next 2 sts, ks2tog, 1 ks in the next 2 sts, ks2tog. Join with a sl st in first st. (6 sts)
Fasten off leaving a long tail. Sew the top of mitten together.
Toddler Size:
Ch 12. Being careful not to twist ch, join with a sl st in first chain to make a round.
Rnd 1: Ch 1, hdc in each ch around. Join with a sl st in first sc. (12 sts).
Rnds 2-4: Ch 1, working in the 3rd loop, hdc in each st around. Join with a sl st in the first hdc. (12 sts).
Rnd 5: Ch 1, working in the 3rd loop, loosely sc in in each st around. Join with a sl st. (12 sts).
Rnd 6: Ch 1, ks in the first 11 sts, 2 ks in the last st. Join with a sl st. (13 sts)
Rnd 7: Ch 1, ks in first 11 sts, ch 1, sk next 2 sts, join with a sl st in the first ks. (11 sts, 1 ch-1).
Rnd 8: Ch 1, 1 ks in each st and ch. Join with a sl st. (12 sts)
Rnds 9-11: Ch 1, ks in each st around. Do not join but continue working being sure to move stitch marker up as work progresses. (12 sts).
Rnd 12: Ch 1, ks in the next 4 sts, ks2tog, 1 ks in the next 4 sts, ks2tog. Join with a sl st in first st. (10 sts)
Rnd 13: Ch 1, ks in the next 3 sts, ks2tog, 1 ks in the next 3 sts, ks2tog. Join with a sl st in first st. (8 sts)
Fasten off leaving a long tail. Sew the top of mitten together.
Mitten Thumb:
Rnd 1: Join yarn with a sl st in the corner st on the right side of thumb opening. Work 5 ks evenly around thumb opening. Mark the first st with a stitch marker and move up as work progresses. (5 sts).
Rnds 2-4: ch 1, 1 ks in each st around. (5 sts).
Rnd 5: Ch 1, ks2tog, 1 ks in the next st, ks2tog. Join with a sl st in first st. (3 sts).
Fasten off leaving a long tail for sewing. Sew top of thumb together. Weave in ends.
Size Small:
Ch 14. Being careful not to twist ch, join with a sl st in first chain to make a round.
Rnd 1: Ch 1, hdc in each ch around. Join with a sl st in first sc. (14 sts).
Rnds 2-4: Ch 1, working in the 3rd loop, hdc in each st around. Join with a sl st in the first hdc. (14 sts).
Rnd 5: Ch 1, working in the 3rd loop, loosely sc in in each st around. Join with a sl st. (14 sts).
Rnd 6: Ch 1, ks in each st around. Join with a sl st. (14 sts).
Rnd 7: Ch 1, ks in the first 13 sts, 2 ks in the last st. Join with a sl st. (15 sts)
Rnd 8: Ch 1, ks in first 13 sts, ch 1, sk next 2 sts, join with a sl st in the first ks. (13 sts, 1 ch-1).
Rnd 9: Ch 1, 1 ks in each st and ch. Join with a sl st. (14 sts)
Rnds 10-13: Ch 1, ks in each st around. Do not join but continue working being sure to move stitch marker up as work progresses. (14 sts).
Rnd 14: Ch 1, ks in the next 5 sts, ks2tog, 1 ks in the next 5 sts, ks2tog. Join with a sl st in first st. (12 sts)
Rnd 15: Ch 1, ks in the next 4 sts, ks2tog, 1 ks in the next 4 sts, ks2tog. Join with a sl st in first st. (10 sts)
Rnd 16: Ch 1, ks in the next 3 sts, ks2tog, 1 ks in the next 3 sts, ks2tog. Join with a sl st in first st. (8 sts)
Fasten off leaving a long tail. Sew the top of mitten together.
Mitten Thumb:
Rnd 1: Join yarn with a sl st in the corner st on the right side of thumb opening. Work 5 ks evenly around thumb opening. Mark the first st with a stitch marker and move up as work progresses. (5 sts).
Rnds 2-5: ch 1, 1 ks in each st around. (5 sts).
Rnd 6: Ch 1, ks2tog, 1 ks in the next st, ks2tog. Join with a sl st in first st. (3 sts).
Fasten off leaving a long tail for sewing. Sew top of thumb together. Weave in ends.
Size Medium:
Ch 16. Being careful not to twist ch, join with a sl st in first chain to make a round.
Rnd 1: Ch 1, hdc in each ch around. Join with a sl st in first sc. (16 sts).
Rnds 2-5: Ch 1, working in the 3rd loop, hdc in each st around. Join with a sl st in the first hdc. (16 sts).
Rnd 6: Ch 1, working in the 3rd loop, loosely sc in in each st around. Join with a sl st. (16 sts).
Rnds 7-8: Ch 1, ks in each st around. Join with a sl st. (16 sts).
Rnd 9: Ch 1, ks in the first 15 sts, 2 ks in the last st. Join with a sl st. (17 sts)
Rnd 10: Ch 1, ks in first 15 sts, ch 1, sk next 2 sts, join with a sl st in the first ks. (15 sts, 1 ch-1).
Rnd 11: Ch 1, 1 ks in each st and ch. Join with a sl st. (16 sts)
Rnds 12-16: Ch 1, ks in each st around. Do not join but continue working being sure to move stitch marker up as work progresses. (16 sts).
Rnd 17: Ch 1, ks in the next 6 sts, ks2tog, 1 ks in the next 6 sts, ks2tog. Join with a sl st in first st. (14 sts)
Rnd 18: Ch 1, ks in the next 5 sts, ks2tog, 1 ks in the next 5 sts, ks2tog. Join with a sl st in first st. (12 sts)
Rnd 19: Ch 1, ks in the next 4 sts, ks2tog, 1 ks in the next 4 sts, ks2tog. Join with a sl st in first st. (10 sts)
Rnd 20: Ch 1, ks in the next 3 sts, ks2tog, 1 ks in the next 3 sts, ks2tog. Join with a sl st in first st. (8 sts)
Fasten off leaving a long tail. Sew the top of mitten together.
Mitten Thumb:
Rnd 1: Join yarn with a sl st in the corner st on the right side of thumb opening. Work 6 ks evenly around thumb opening. Mark the first st with a stitch marker and move up as work progresses. (6 sts).
Rnds 2-6: ch 1, 1 ks in each st around. (6 sts).
Rnd 7: Ch 1, ks2tog, 1 ks in the next st, ks2tog. Join with a sl st in first st. (4 sts).
Fasten off leaving a long tail for sewing. Sew top of thumb together. Weave in ends.

The photographs and pattern contained in this document are the property of Rich Textures Crochet.
This pattern is for personal use only.
No unauthorized reproduction, in whole or in part, or distribution of this pattern or content is permitted. ALL FINISHED PRODUCTS from this pattern can be used for local sales and sold online.
Thank you so much for supporting Rich Textures Crochet! To stay in touch or see more great products, be sure to visit me on Facebook and Instagram (Rich Textures Crochet) or at www.richtexturescrochet.com. Thanks again! Happy Crocheting!