This post contains affiliate links. This means that when you purchase through one of these links we will receive a small commission at no additional cost to you. Thank you for supporting Rich Texture Crochet!
The Bouillon Crochet stitch pattern is one stitch that I have been putting off recording for a long time!
But it is one stitch that everyone should have in their repertoire.
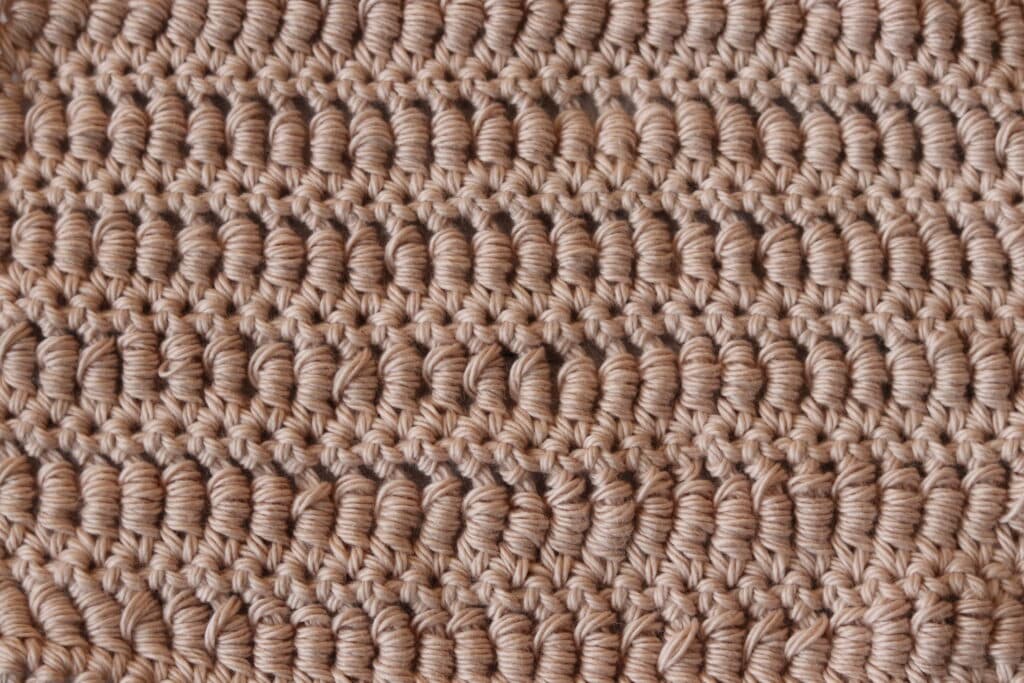
The Bouillon crochet stitch is a classic crochet stitch. You will often see it worked in vintage crochet patterns and worked in all weights and fibres of yarn. It is a timeless crochet stitch that features a delicate and unique look.
One of the reasons why I have been putting off recording this tutorial is that it is not an easy stitch to work, especially if working it with a classic crochet hook. It is a stitch that requires practice and patience and getting the tension just right. That being said, it is one of those stitches that one can feel proud about mastering!
In the past several years attempts have been made in the crochet community to make this stitch easier to work. Some have opted for using a latch hook in order to work the stitch. And, I’m not going to lie, using a latch hook can make the stitch easier to work and create gorgeous bouillon stitches, but I like to keep things simple!
I am not one who wants to have to switch back between tools when in the middle of a project. So today, I am going to share with you some of the tips and tricks that I have learned while struggling with the Bouillon Crochet Stitch.
The first is that tension is key!
Tension is key!
The bouillon stitch is created by wrapping your yarn around your hook several times. I will demonstrate wrapping it five times, but many would say that traditionally it should be wrapped seven times or more. This may be adjusted based on the weight of your yarn or by how tall or wide you would like the stitch.
When wrapping the yarn around your hook, it is important that you not wrap it too tight – it should slide easily along your hook. That being said, you also do not want it to be too loose and as you are working the loops off of the hook you want to make sure that you are keeping the tension of your yarn firm. Otherwise you risk dropping a loop or having a finished bouillon stitch with loose threads.
Next, I find it helps to remove one to two loops at a time and to use the thumb and middle finger of the hand that is keeping the tension of the working yarn to help push the yarn forward to ease it off the hook.
It takes a little fiddling with, but you will get it! Do not forget to check the full video tutorial out below where I will demonstrate it slowly for you.
Materials:
For this tutorial today I will be using a small amount of cotton yarn. This yarn is a worsted weight yarn called Pima Cotton by Lion Brand Yarn. I will also be using a 5 mm crochet hook. The hook you will see me using in the video tutorial below is a Clover Soft Touch Hook also available on Lion Brand through the link above.
Thank you so much for stopping by! If you enjoy learning new crochet stitches, you will find many more in the “Crochet Stitches” category here on Rich Textures Crochet, or you may wish to check out the Ruffle Crochet Stitch. I update this website with a new crochet stitch every week!
Bouillon Crochet Stitch:
Stitches and Abbreviations:
Bouillon St – Bouillon Stitch (Yarn over 5 times, insert your hook into the next st, yarn over and draw up a loop, yarn over and draw through all the loops on your hook. Bouillon Stitch made.)
Ch – Chain Stitch
Dc – Double Crochet
Hdc – Half Double Crochet
Rpt – Repeat
Sc – Single Crochet
Sk – Skip
Sl St – Slip Stitch
Yo – Yarn Over
Notes:
I find when working this stitch, only remove 1-2 loops at a time from your hook.
You may wrap the yarn around your hook as many times as you would like to create a taller or shorter stitch. For example, yarn over seven or ten times.
This stitch is worked in rows in this tutorial. You may work it in one colour or many. I will be working the stitch in a solid colour.
To begin, make a slip knot and then a foundation chain. For your foundation chain you may use any multiple of stitches plus one.
For example, ch 26.
Row One:
Sc in the 2nd ch from your hook and in each ch across. Ch 2 (does not count as a st here and throughout), turn.
Row Two:
Dc in the 1st st, bouillon st (See “Stitches and Abbreviations”) in the next st and in each st across until 1 st remains, dc in the final st. Ch 1, turn.
Row Three:
Sc in the 1st st and in each st across, ch 2 (does not count as a stitch), turn.
And that’s it!
For the rest of the pattern simply repeat rows 2 and 3 for as long as you would like, fasten off, weave in your ends.