This post contains affiliate links. This means that when you purchase through one of these links we will receive a small commission at no additional cost to you. Thank you for supporting Rich Texture Crochet!
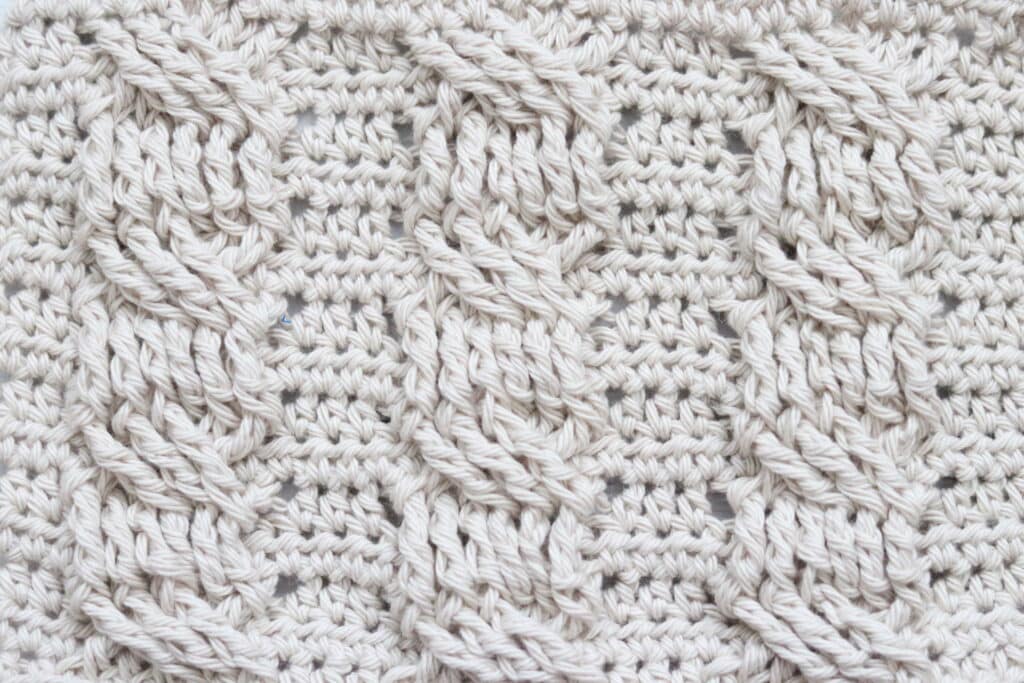
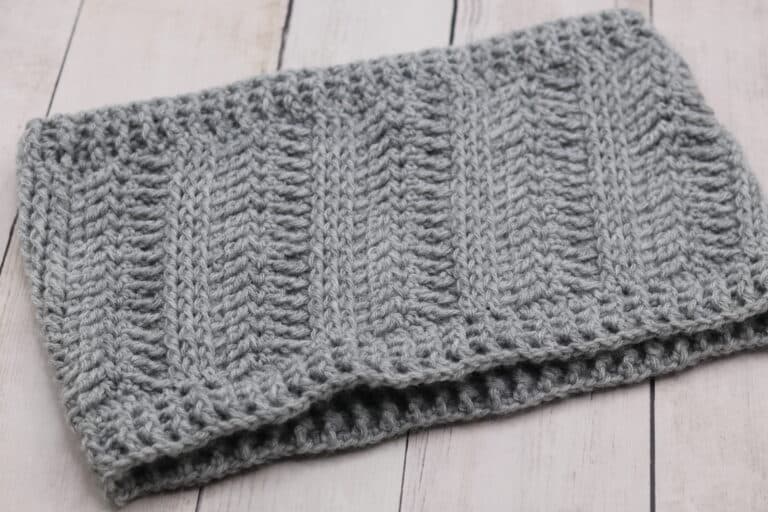
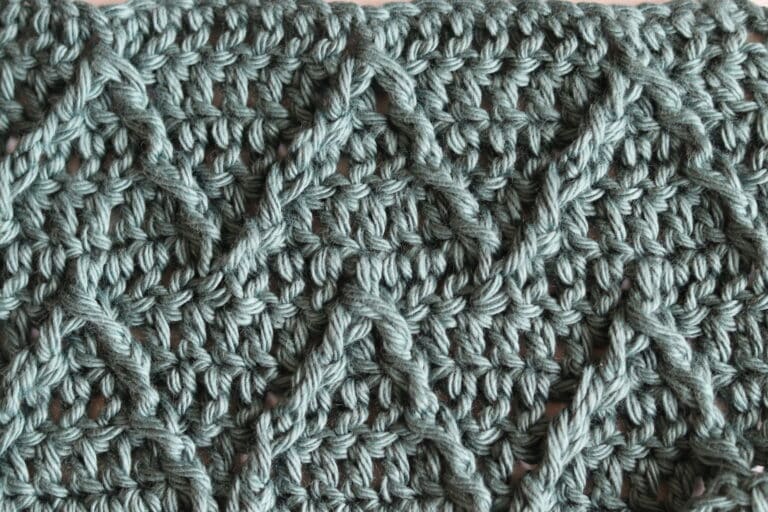
As we continue our crochet cable journey, we try the Rope Cable Pattern today!
Over the past few weeks I have enjoyed teaching you a variety of crochet cable stitches including a Straight Cable, Twisted Cable and Chain Link Cable. The Rope Cable crochet pattern is a more classic looking crochet pattern. The pattern is a fairly easy pattern to remember and it adds a great texture to your crochet project.
This post contains affiliate links. This means that when you make a purchase through one of these links, Rich Textures Crochet will earn a small commission at no additional cost to yourself. Thank you for supporting Rich Textures Crochet.
The Materials:
For this tutorial today I will be using a small amount of Pima Cotton Yarn by Lion Brand Yarn in one colour. It is a worsted weight, 100% cotton yarn. The hook shown in the video below is a 5 mm birchwood crochet hook by Rowan Yarns. However you may use any hook and yarn combination you choose, even experiment with stripes of colour!
Thank you so much for stopping by! If you enjoy the tutorial below, be sure to also check out some of the many other crochet stitch tutorials on my site and pin this for later!
Sarah
Crochet Rope Cable Stitch:
Stitches and Abbreviations:
Ch – Chain
Fpdtr – Front Post Double Triple/Treble Stitch
Hdc – Half Double Crochet Stitch
Rpt – Repeat
Yo – yarn over
To begin you will make a foundation chain. For this pattern, the cables themselves require a multiple of 7 stitches. Then you simply work out how many stitches you would like to have in between the cables and then add one for your foundation chain.
For this particular swatch where I will work three stitches in between each cable, I will chain 34.
Notes:
- Pattern is written in American English terms
- Weave in ends as needed
- This stitch is worked in rows in this tutorial.
Ch 34
Row 1:
Hdc in the 2nd ch from your hook and in each st across. Ch 1, turn.
Row 2:
Hdc in the 1st st and in each st across. Ch 1, turn.
Row 3:
Hdc in each of the 1st 3 sts, *sk the next 4 sts, [fpdtr working over the next st and around the post of the st 2 rows below] 3 times, hdc in the next st, now working over each of the first 4 sk sts, fpdtr working over the 1st sk st and around the post of the st 2 rows below, [fpdtr working over the next sk st and around the post of the st 2 rows below] twice, hdc in each of the next 3 sts; Rpt from * across, ch 1, turn.
Row 4:
Hdc in the 1st st and in each st across. Ch 1, turn.
Row 5:
Hdc in each of the 1st 3 sts, *[fpdtr working over the next st and around the post of the st 2 rows below] 3 times, hdc in the next st, [fpdtr working over the 1st sk st and around the post of the st 2 rows below] 3 times, hdc in each of the next 3 sts; Rpt from * across, ch 1, turn.
Repeat rows 2 to 5 for as long as you would like always working the front post stitches around the front post stitches two rows below. Fasten off, weave in your ends.
Video Tutorial:
The photographs and pattern contained in this document are the property of Rich Textures Crochet.
This pattern is for personal use only.
No unauthorized reproduction, in whole or in part, or distribution of this pattern or content is permitted. ALL FINISHED PRODUCTS from this pattern can be used for local sales and sold online.
Thank you so much for supporting Rich Textures Crochet! To stay in touch or see more great products, be sure to visit me on Facebook and Instagram (Rich Textures Crochet). Thanks again! Happy Crocheting!
