
This post contains affiliate links. This means that when you purchase through one of these links we will receive a small commission at no additional cost to you. Thank you for supporting Rich Texture Crochet!
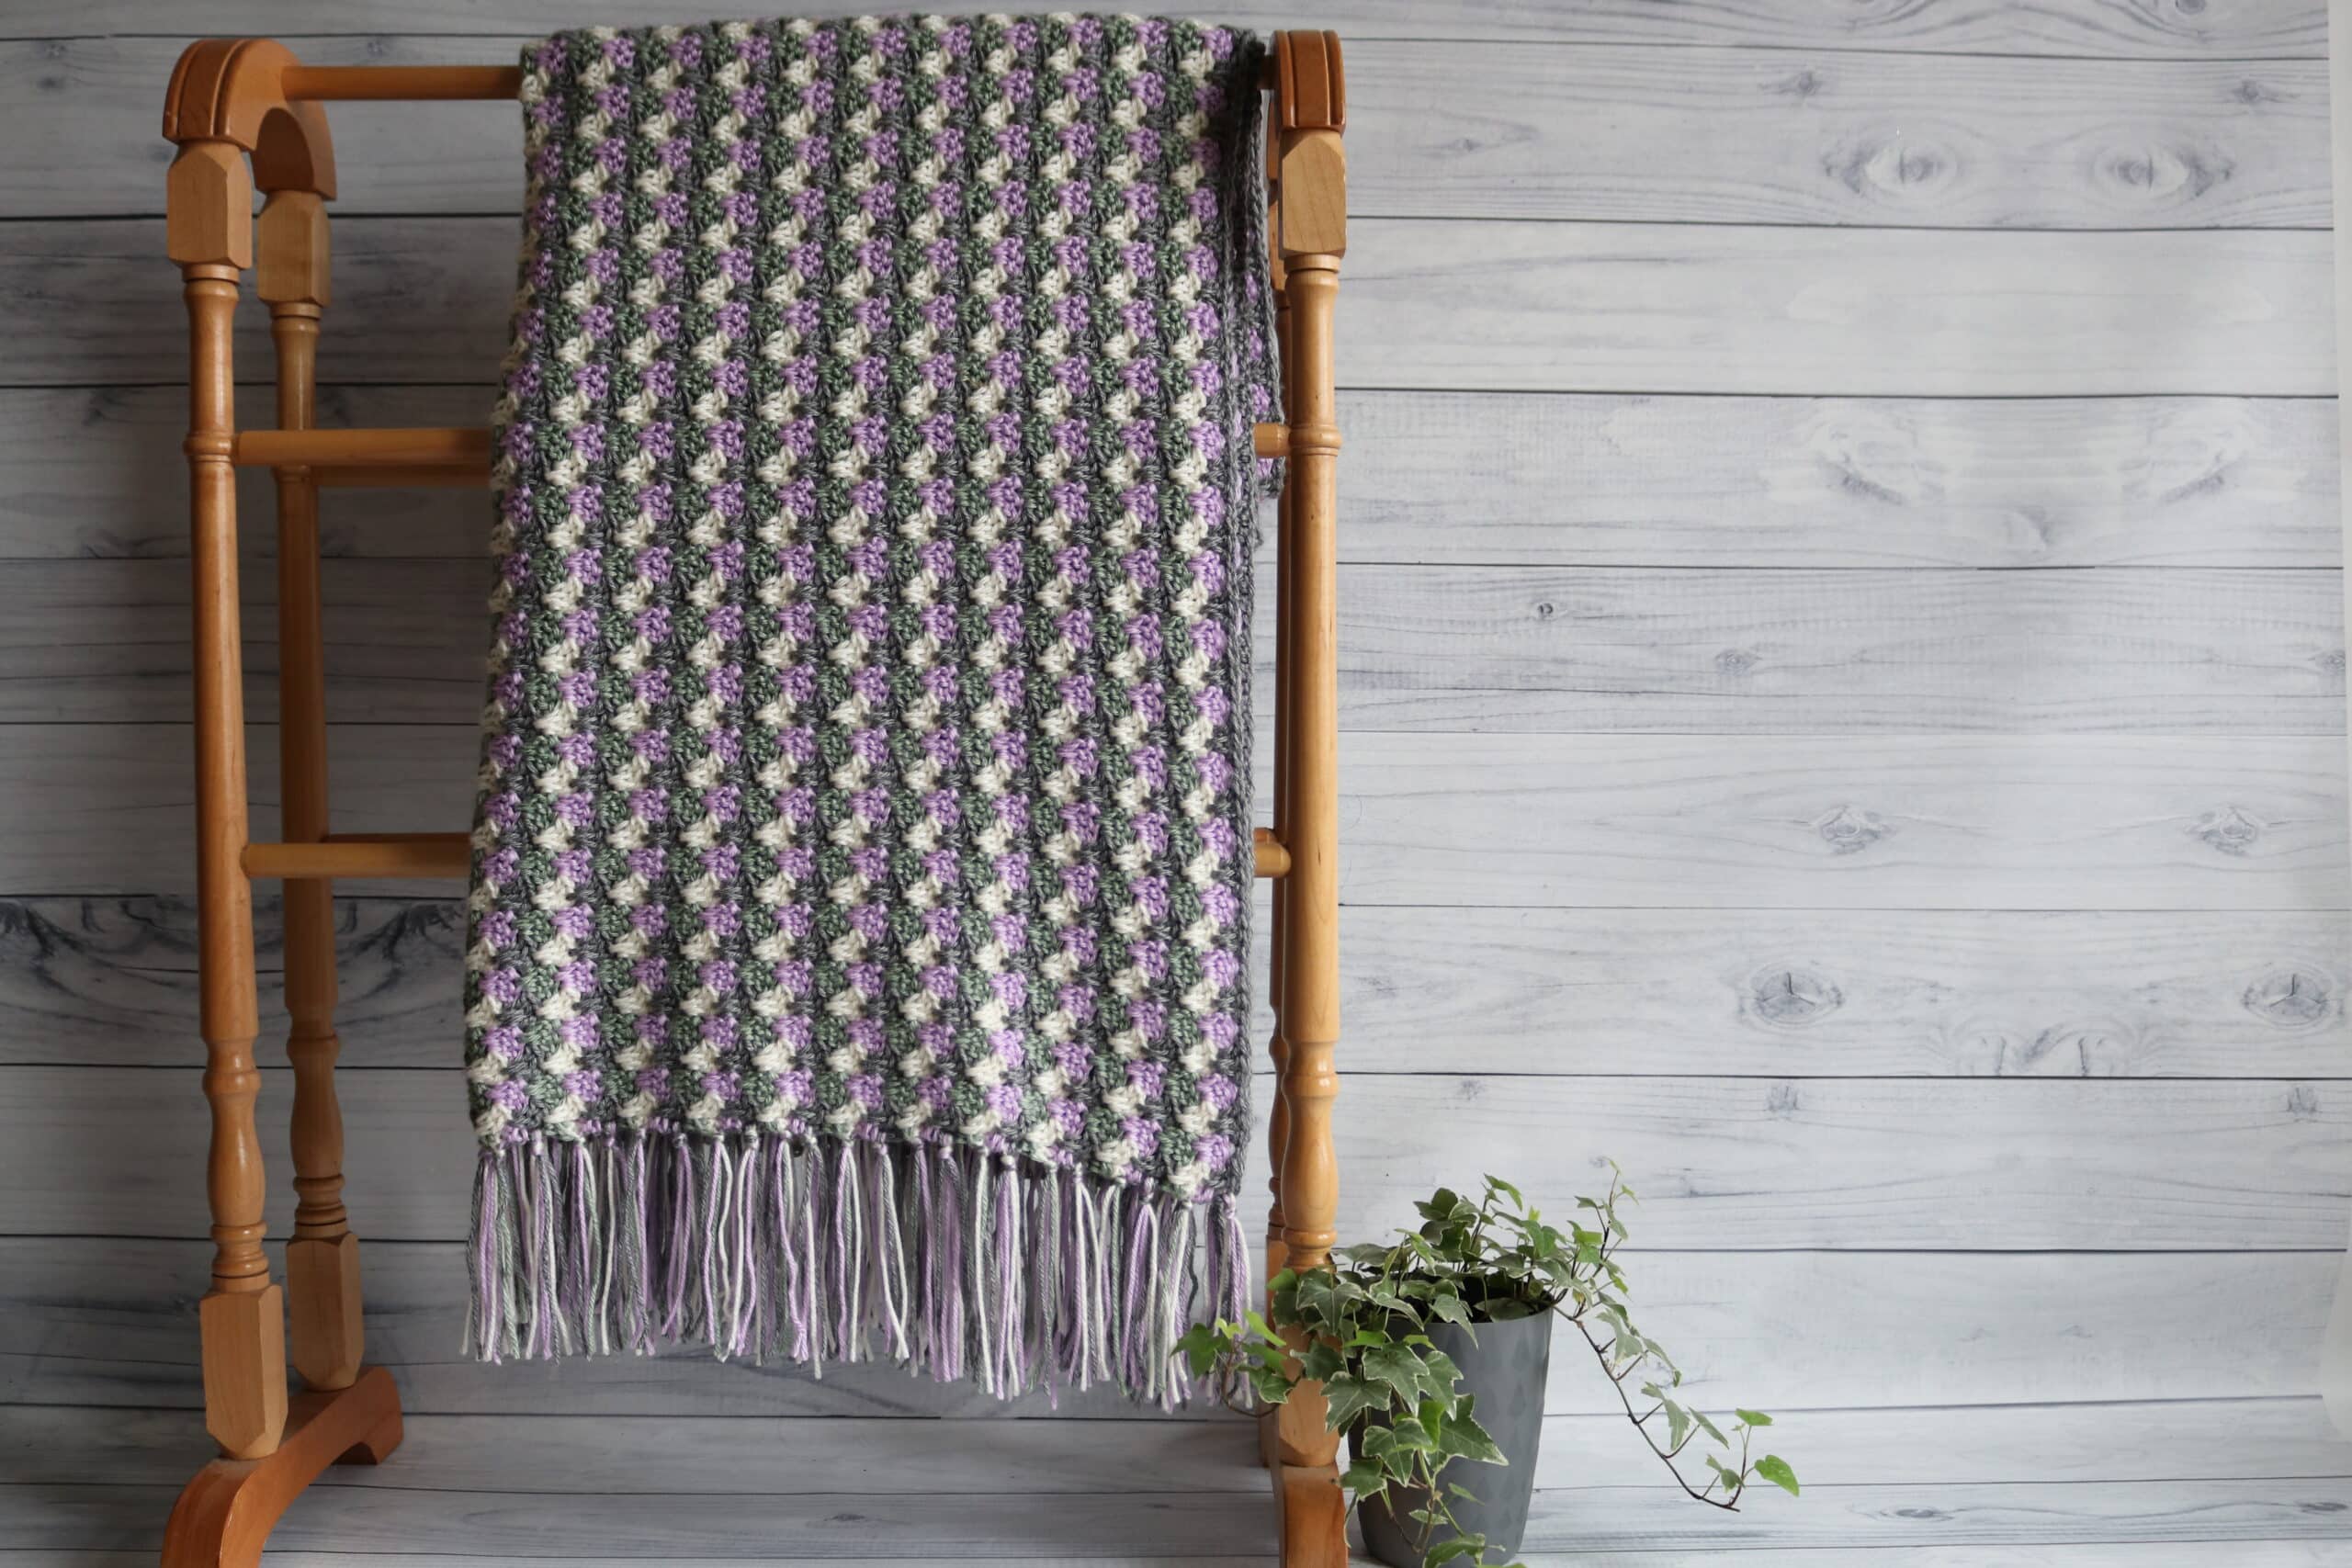
Welcome to Rich Textures Crochet! Today we take a classic granny stitch and add a twist in this Granny Stripe Throw free crochet pattern!
The granny stitch is a classic stitch whose popularity has continued through many years! I will confess that I have always shied away from granny stitch designs simply because I really don’t like to have to weave in a lot of ends.
Not too long ago I mentioned this on my YouTube channel and someone made the comment, “those are for the fringe!” It’s such a great idea!
The Granny Stripe:
With the ends no longer being a problem I felt free to tackle a granny stitch project. The Granny Stripe throw uses the classic grouping of three double crochet stitches, but, as I mentioned above, in this design there is a bit of a twist.
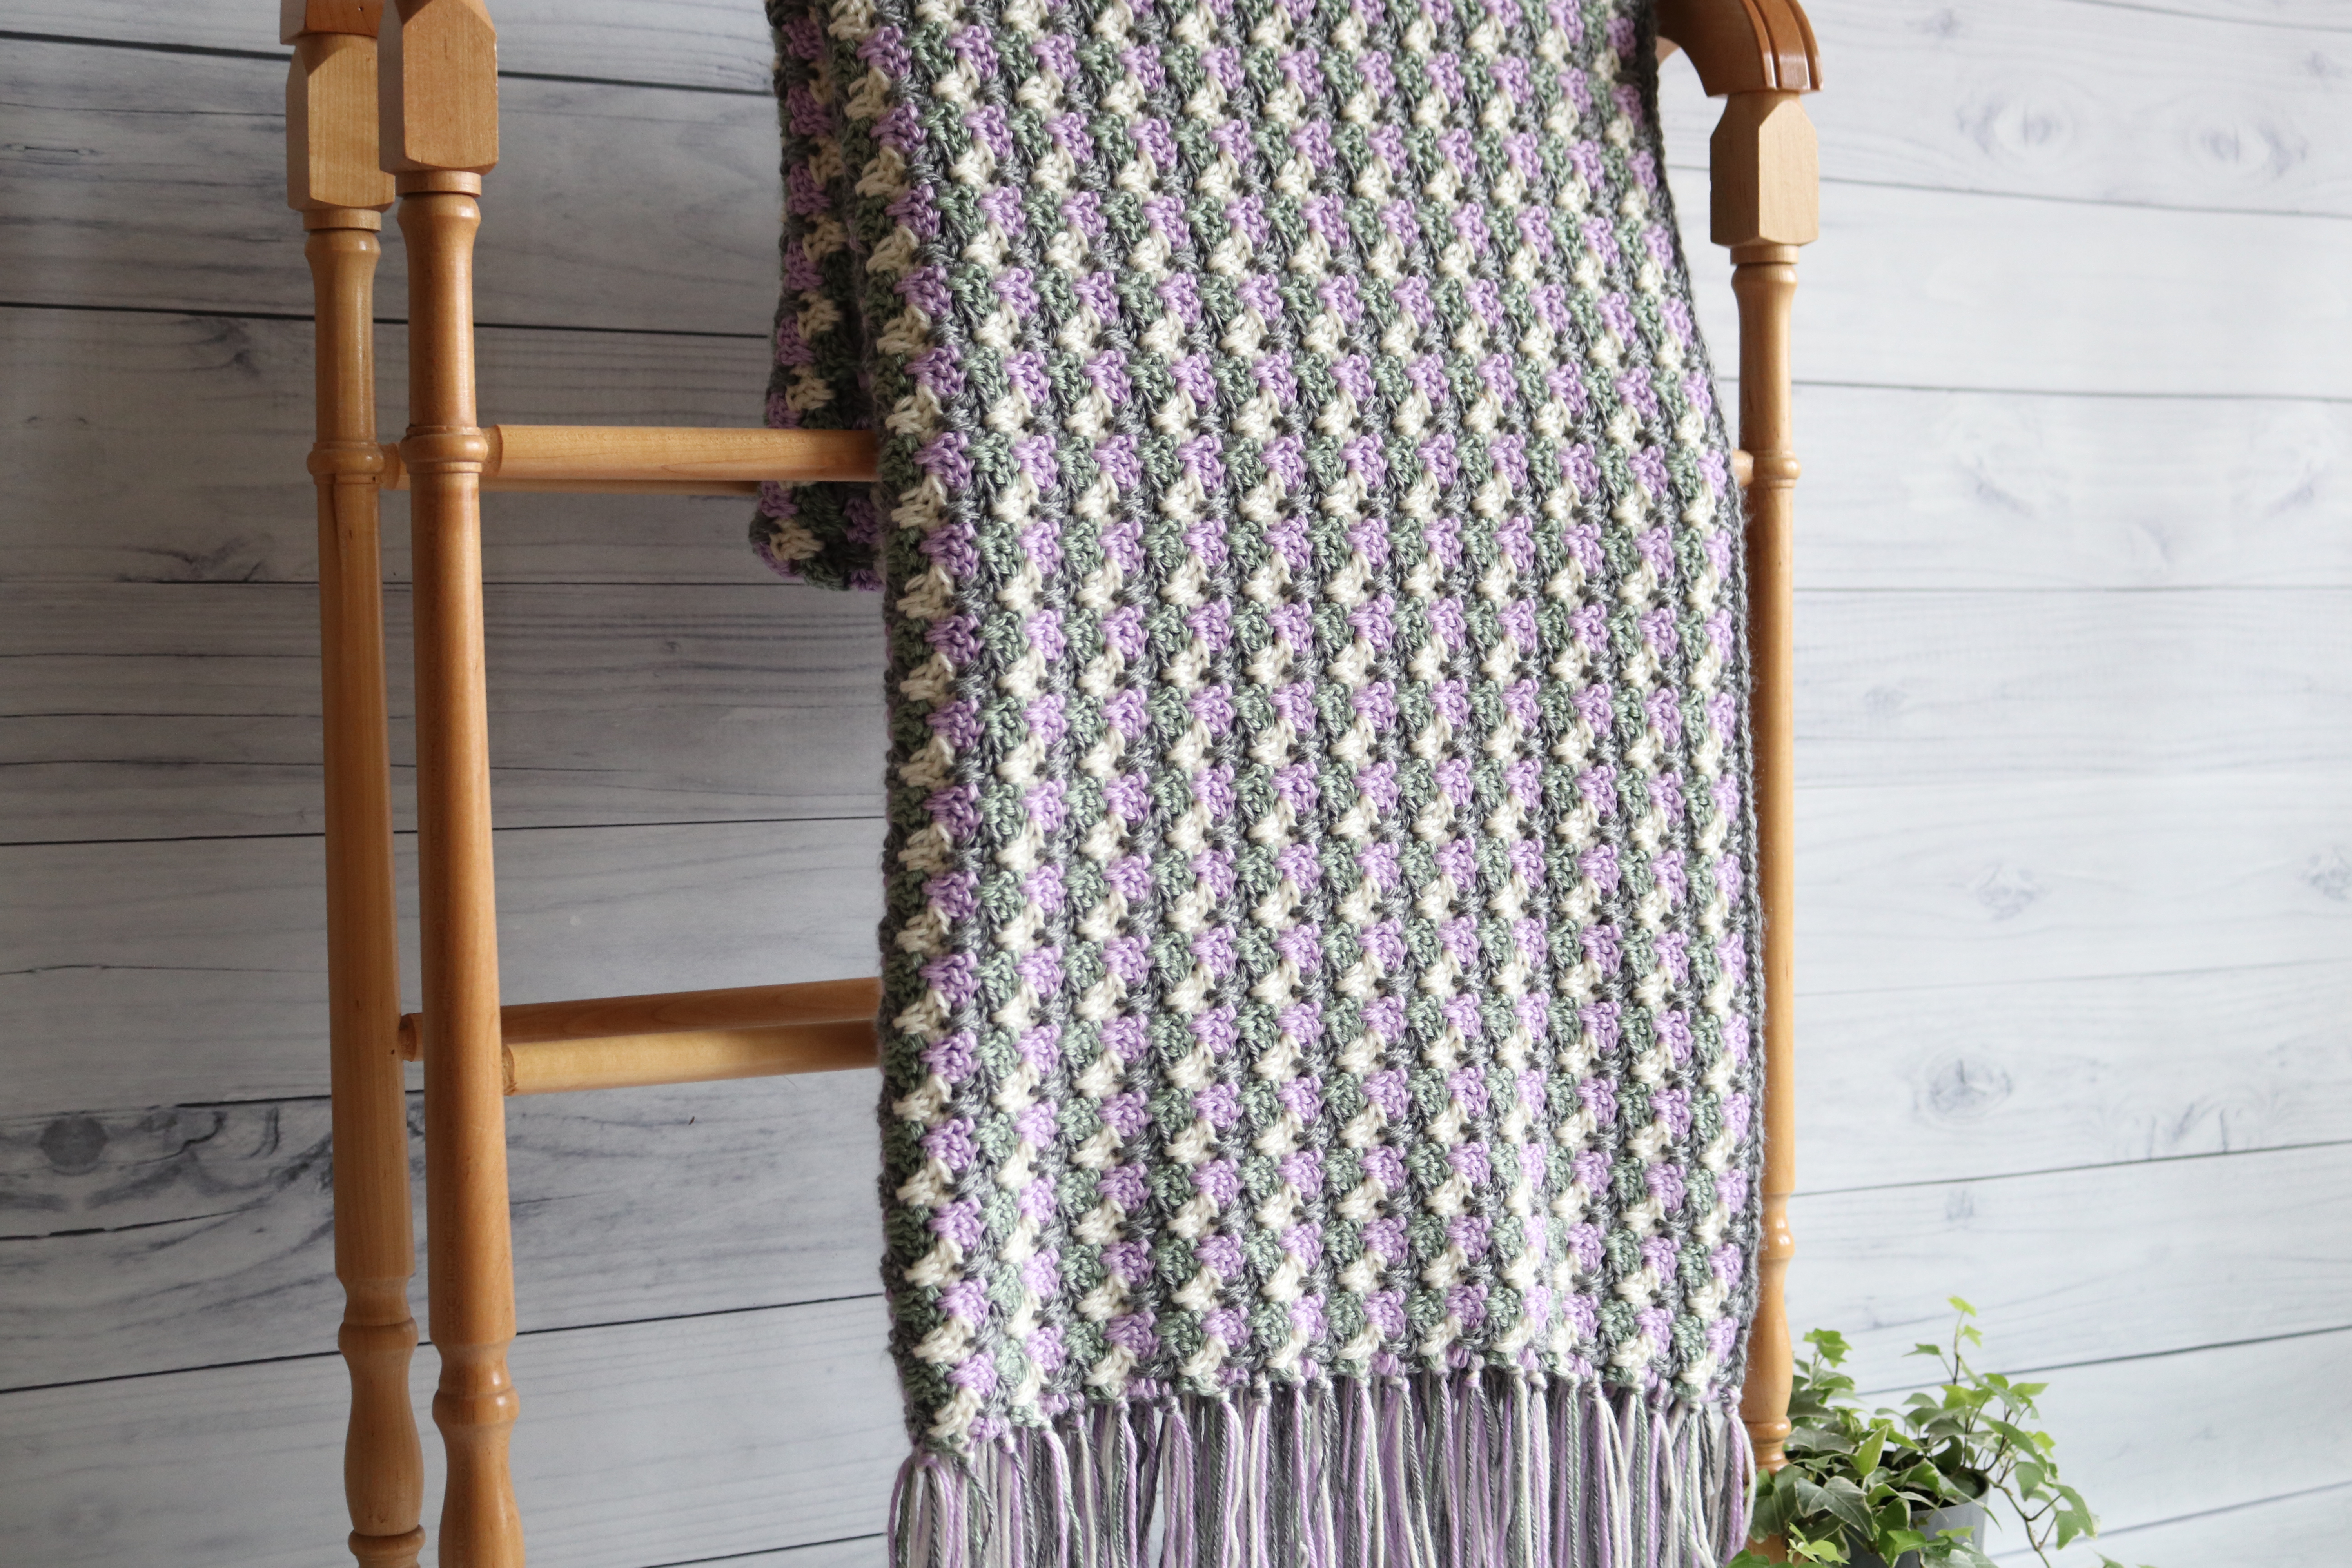
Instead of simply working three double crochet stitches into a chain space, this design varies the stitches by making the middle double crochet a spike stitch.

A spike stitch is a stitch that extends into the row two or more rows below. In this case the spike double crochet stitch is worked into the skipped double crochet stitch two rows below. Can’t quite picture it? No worries! Check out the video tutorial at the end of this post 🙂
Caron Simply Soft by Yarnspirations:
I worked my blanket using the super soft Caron Simply Soft by Yarnspirations. It is one of my favourite yarns for blankets simply because it is so soft and I love the drape of the final product. It comes in a variety of colours which means you can really customize your blanket! For this project you will need four colours.
The Changing Tide Throw is another pattern worked in the Caron Simply Soft. You can find that pattern here: Changing Tides Throw | Free Crochet Pattern
You will also need a 5.5 mm crochet hook. I will be using my Wooden Furls Streamline in Ebony. The complete detailed list of materials can be found below.
PDF Copy:
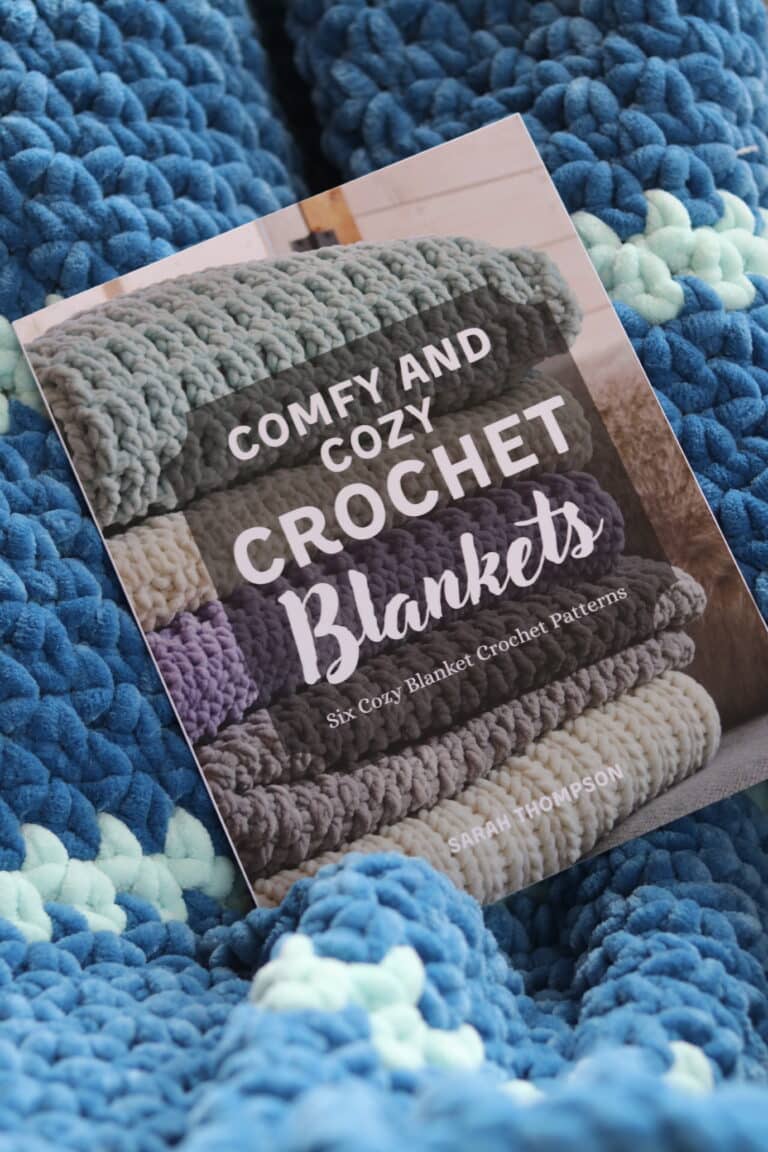
If you would like to save this pattern to your library or purchase an ad free PDF, you may do so from either my Etsy or Ravelry Shop linked below:
Click here for the Granny Stripe Throw on Etsy
Click here for the Stripe Throw on Ravelry
Thank you so much for stopping by! I invite you to take a look around, connect on social media and don’t forget to subscribe to my e-newsletter!
Until next time, happy crocheting!
Sarah

Granny Stripe Throw:
Skill Level: Easy
Gauge: 16 sts x 11 rows of pattern = 4 inches.
Finished Size: Finished blanket measures approximately 40 x 60 inches.
Yarn:
Approximately 3 balls of Colour A: Grey Heather (Caron Simply Soft Heathers by Yarnspirations (%100 acrylic; 141 g / 5 oz, 228 meters / 250 yards; Worsted Weight)
Approximately 3 balls of Colour B: Woodland Heather (Caron Simply Soft by Yarnspirations (%100 acrylic; 141 g / 5 oz, 228 meters / 250 yards; Worsted Weight)
Approximately 2 balls of Colour C: Off White (Caron Simply Soft by Yarnspirations (%100 acrylic; 170 g / 6 oz, 288 meters / 315 yards; Worsted Weight)
Approximately 2 balls of Colour D: Orchid (Caron Simply Soft by Yarnspirations (%100 acrylic; 170 g / 6 oz, 288 meters / 315 yards; Worsted Weight)
Hook: Size I/9 (5.5 mm).Adjust hook size if necessary to obtain correct gauge.
Notions: Yarn Needle.
Stitches and Abbreviations:
Ch – Chain
Dc – Double Crochet
Lp – Loop
Lps – Loops
Rpt – Repeat
Sc – Single Crochet
Sk – Skip
Sl st – Slip stitch
Spike Dc – Spiked Double Crochet (Work a double crochet stitch in the skipped stitch indicated two rows below)
Yo – Yarn over
Pattern Notes:
- Pattern is written in American English terms.
- Pattern is worked in rows.
- Ch 3 at the beginning of a row counts as a dc.
Free Crochet Pattern:
With Colour A, leave a long tail of 5-6 inches, ch 224. (To change the size of your blanket you will need a foundation chain with a chain multiple of 4)
Row 1: 2 dc in the 4th ch from hook, * ch 1, sk 3 ch, 3 dc in the next ch; rpt from * across, switch to colour B, fasten off colour A leaving a long tail of 5-6 inches, turn.
Row 2: With colour B, ch 4 (counts as a dc, ch 1), sk the 1st 3 dc, * dc in the next ch-1 sp, 1 spike dc in the centre st of the skipped 3 dc two rows below, dc in the same ch-1 sp, ch 1 **, skip 3 dc; rpt from * across ending the last rpt at **, sk 2 dc, 1 dc in the top of the turning ch, switch to colour C, fasten off colour B leaving a long tail of 5-6 inches, turn.
Row 3: With colour C, ch 3 (counts as dc), sk the 1st dc, spike dc in the 1st skipped dc two rows below, dc in the 1st ch-1 sp, * ch 1, sk 3 dc, 1 dc in the next ch-1 sp, spike dc in the centre dc of the skipped 3 dc two rows below, dc in the same ch-1 sp; rpt from * across, working last set of dc and spike dc in the turning ch-4 space, switch to colour D, fasten of colour C leaving a long tail of 5-6 inches, turn.
Row 4: With colour D, ch 4 (counts as a dc, ch 1), sk the 1st 3 dc, * dc in the next ch-1 sp, 1 spike dc in the centre st of the skipped 3 dc two rows below, dc in the same ch-1 sp, ch 1 **, skip 3 dc; rpt from * across ending the last rpt at **, sk 2 dc, 1 dc in the top of the turning ch, switch to colour A, fasten off colour B leaving a long tail of 5-6 inches, turn.
Continue to repeat rows 3 and 4 alternating through colours A to D until your blanket measures about 40 inches wide. Fasten off. Weave in any end at the centre of your blanket.
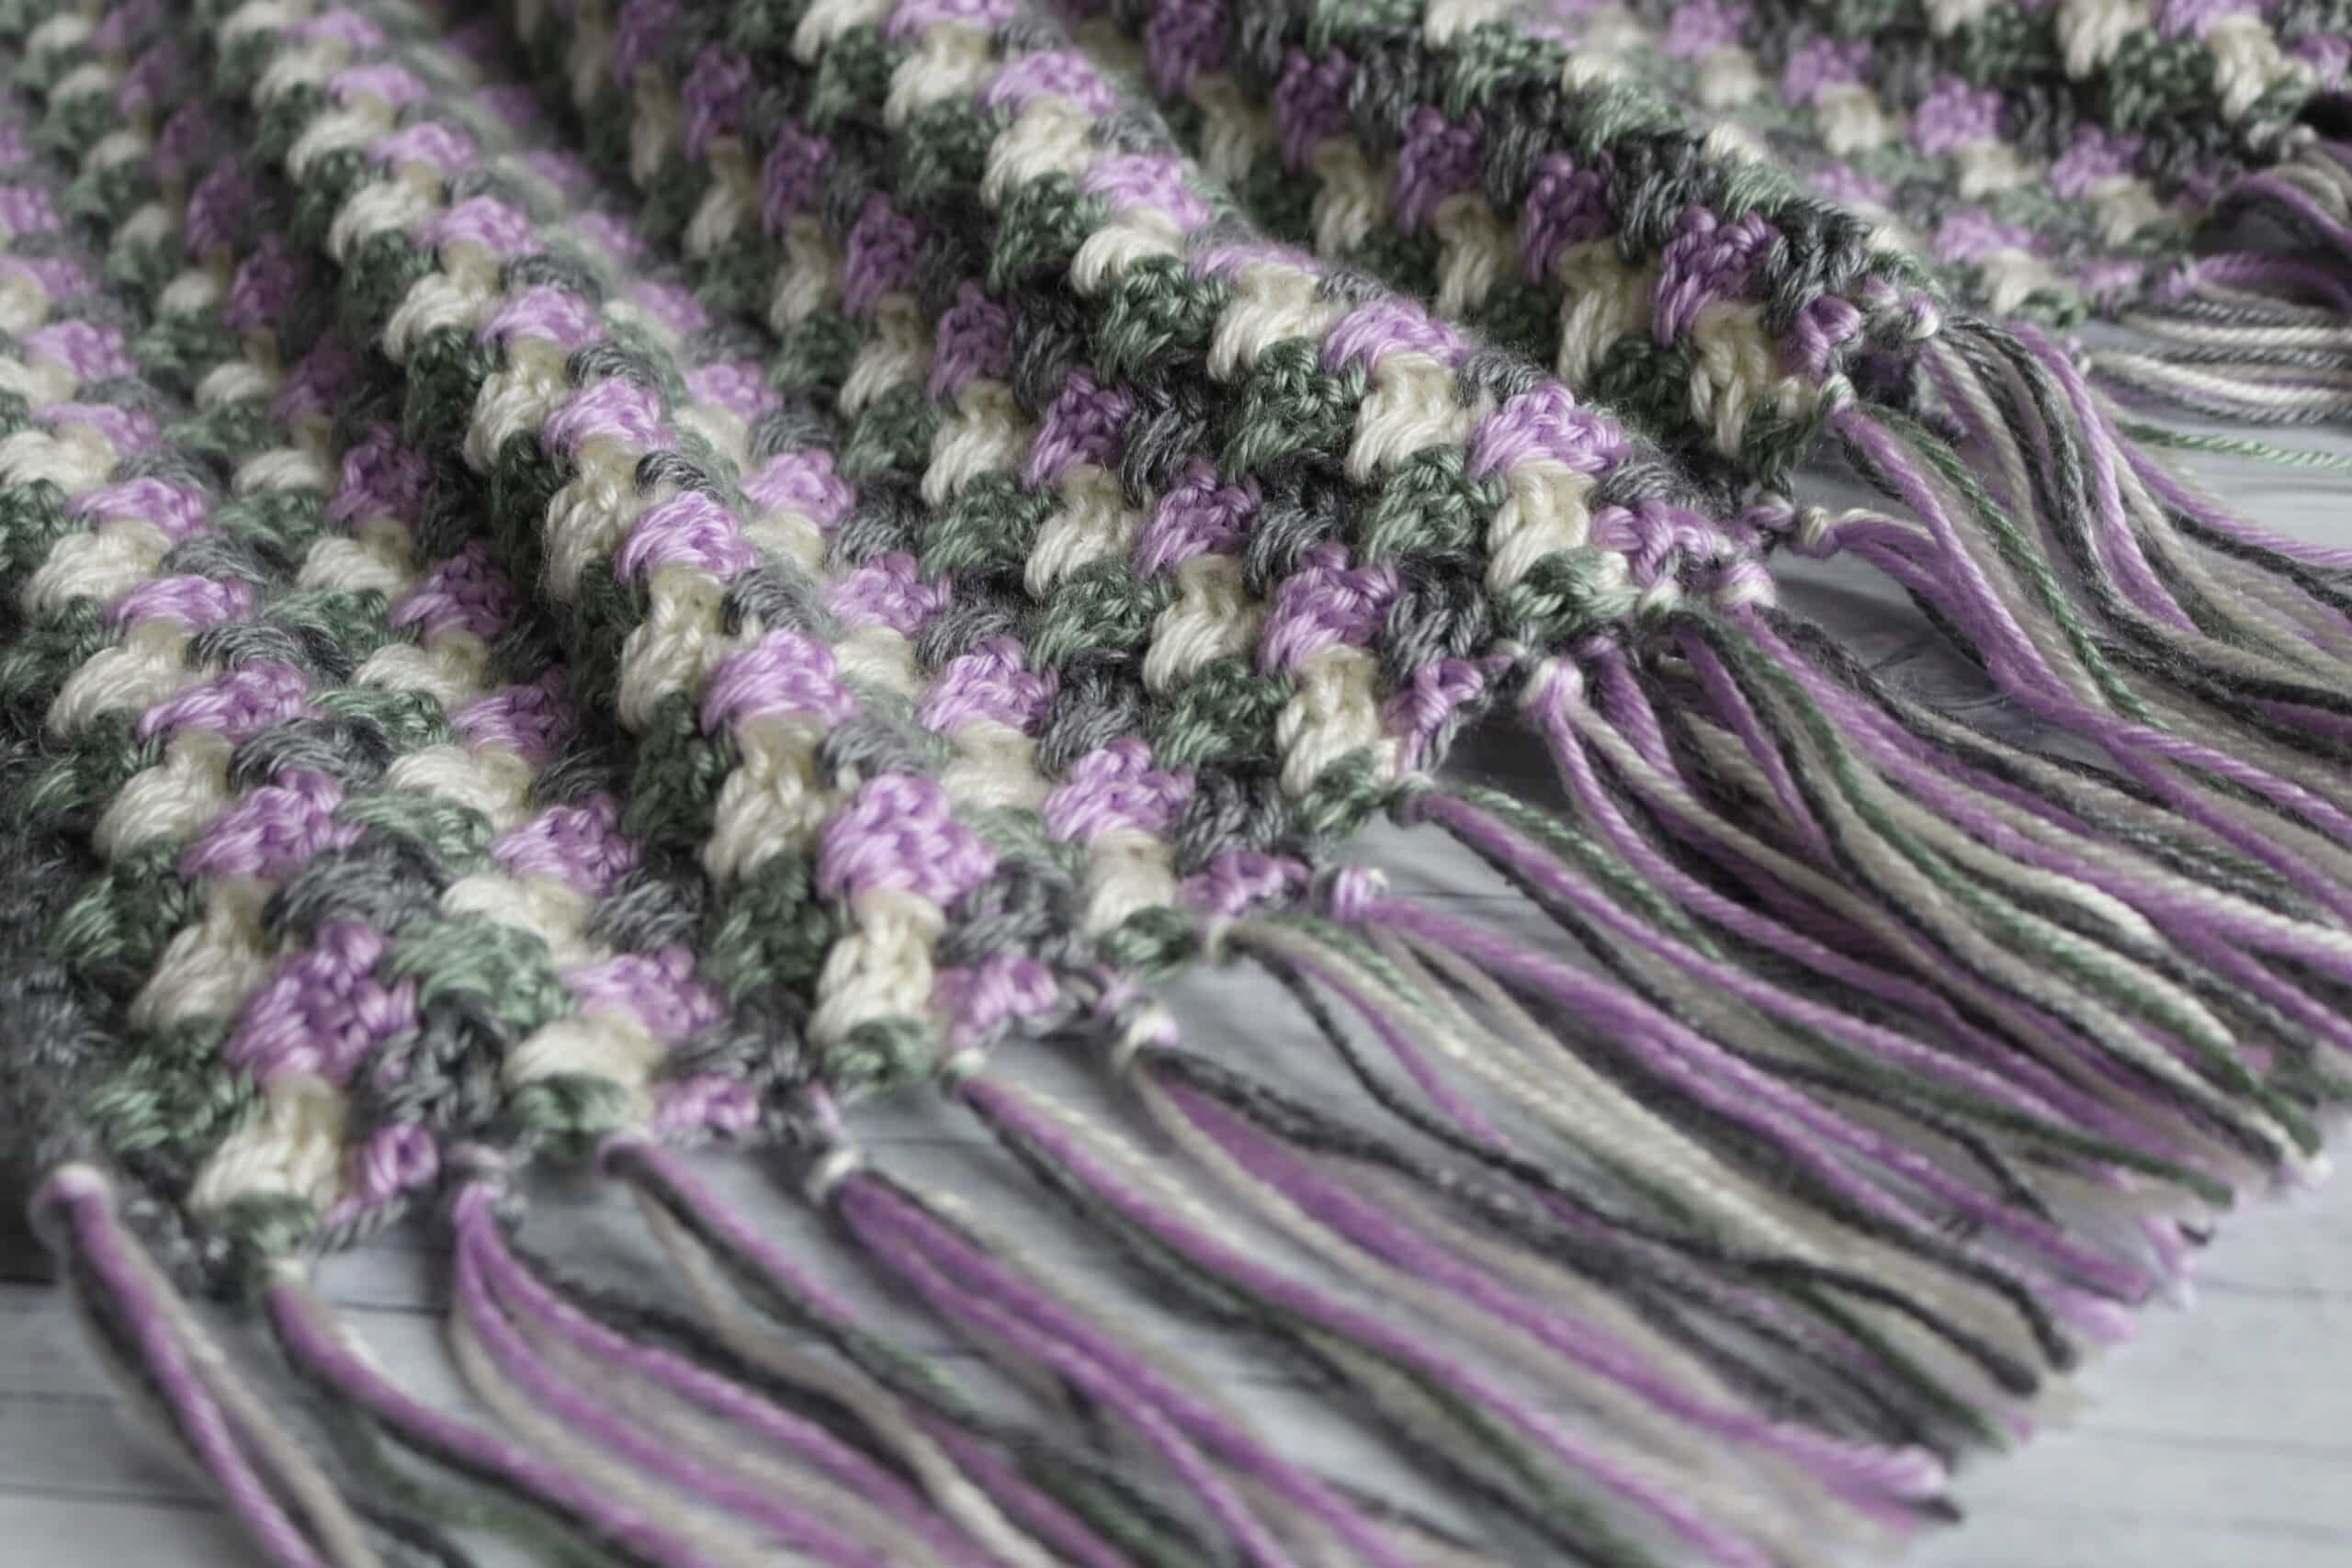
Instead of weaving in the ends at the end of the rows, gather 4 tails together and knot them close to the edge of the blanket tying them off. These are going to become your fringe! Continue across the end of your blanket.
Cut lengths of yarn 10-12 inches long using the yarn you have remaining and fasten these as tassels in-between the knotted ends of the throw to fill in your fringe a bit more.
Once you’re happy with your fringe, trip so all ends are the same length and enjoy!


This would be awesome as a stash buster!
The links to the yarns sadly do not work anymore.
Sorry I forgot to add my question. The pattern has 4 different yarn colors… I see gray, white and orchid. Am I not seeing the 2 greys? Should I order 4 skeins of grey or 2 different greys.
Duh! Sorry I should have watched the video before asking my question… This pattern is awesome and I’m ready to start making one… Thanks