
This post contains affiliate links. This means that when you purchase through one of these links we will receive a small commission at no additional cost to you. Thank you for supporting Rich Texture Crochet!
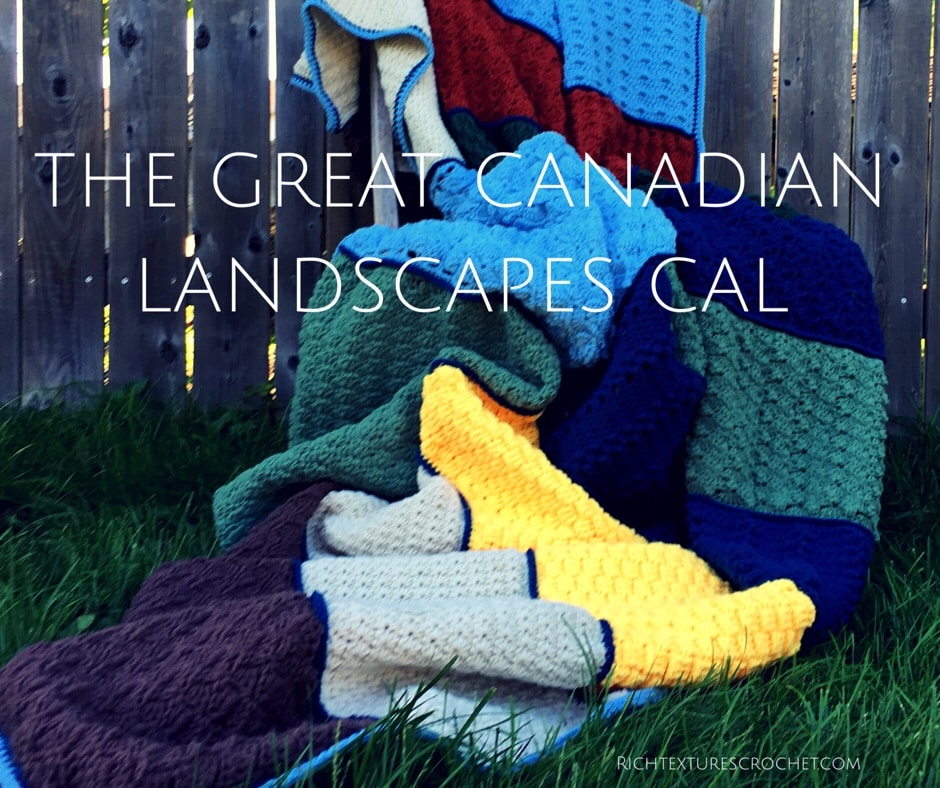
Hello and welcome to week eight of the Great Canadian Landscapes Crochet Along! Today we continue our journey across Canada through the beautiful province of Saskatchewan!

Welcome to Saskatchewan, one of the great prairie provinces of Canada (The prairie provinces also include Manitoba and Alberta)! While when you first think of Saskatchewan you may think of unending grasslands, Saskatchewan also features a variety of fresh water lakes and rivers and the northern part of Saskatchewan is mostly forested.
Unlike all of the other provinces we have explored thus far, Saskatchewan is completely landlocked creating extreme cold temperatures during the winter and extremely hot temperatures during the summer.
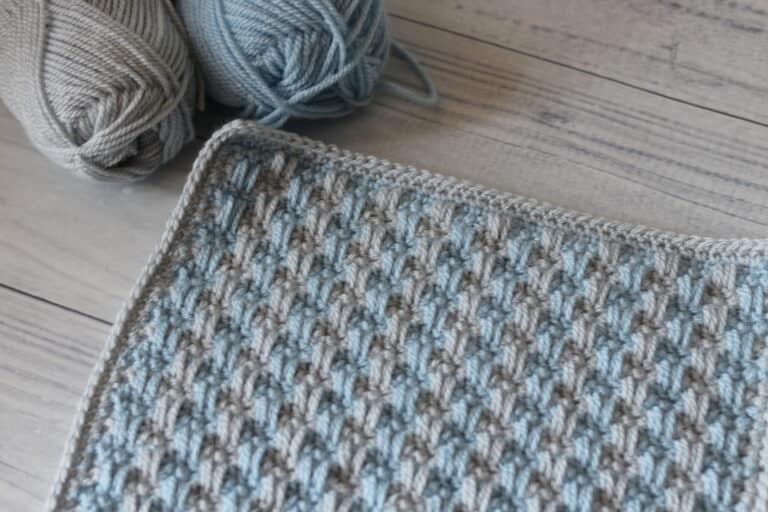
The Panel this Week:
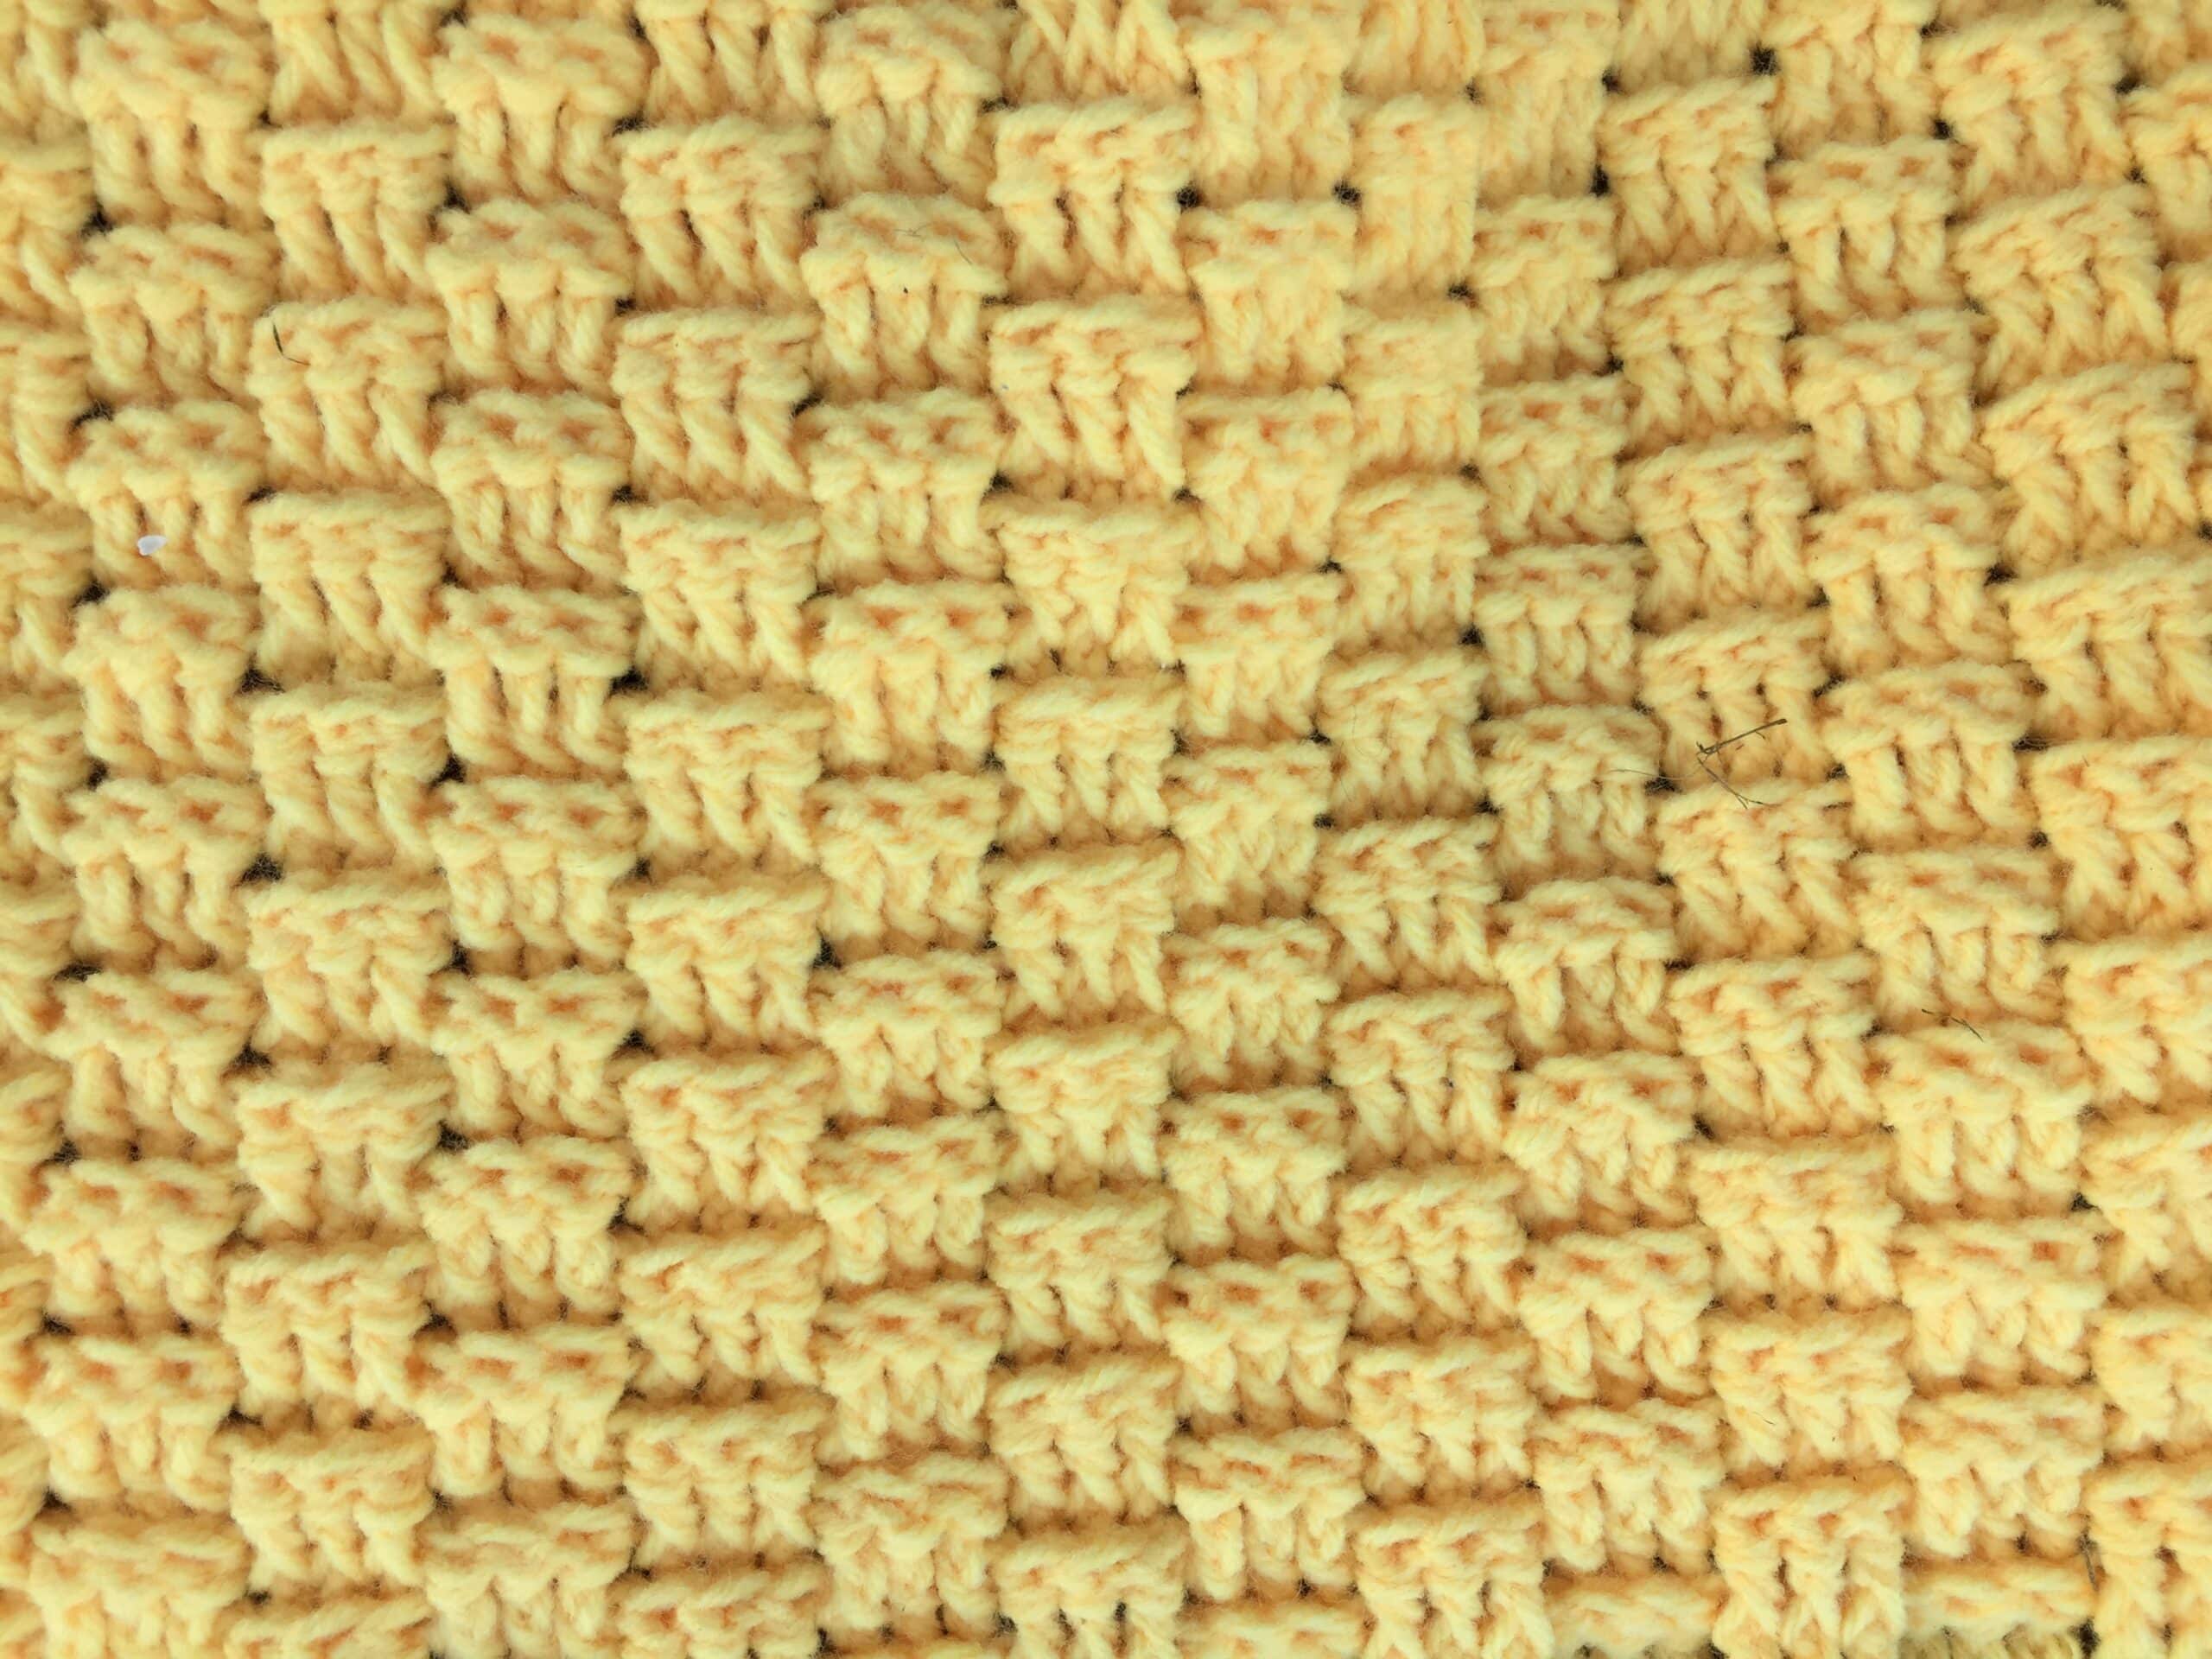
Although there are many rivers, lakes and trees in Saskatchewan, the stitch in the panel this week reminds me of the grasslands in the southern part of the province. The combination of front and back post double crochet stitches give this panel a great texture and once you get the hang of working around the posts of your stitches instead of the tops, you’ll find the pattern easy to catch onto and quite fun to work!
As always, if you need help with the pattern, don’t forget to check out the video tutorial below. While you are there, please subscribe to my YouTube channel (https://www.youtube.com/c/RichTexturesCrochet/), it’s updated weekly with not only this crochet along but great free crochet patterns and stitch tutorials as well!
The CAL – Intro to Week Seven:
This is week seven of this crochet along, if you missed the first several weeks of the CAL, you will find them through the links below. Again, each week also includes a video tutorial and a glimpse into the province that we explored!
Introduction: Canadian Landscapes Crochet Along: Introduction and Materials
Week One: Great Canadian Landscapes CAL Week One!
Week Two: Great Canadian Landscapes CAL Week Two!
Week Three: Great Canadian Landscapes CAL Week Three!
Week Four: Great Canadian Landscapes CAL: Week Four!
Week Five: Great Canadian Landscapes CAL: Week Five!
Week Six: Great Canadian Landscapes CAL: Week Six!
Week Seven: Great Canadian Landscapes CAL: Week Seven!
The Pattern:
This panel measures approximately 43 x 9 inches. Should you wish to change the size, use a chain multiple of 6 + 5.
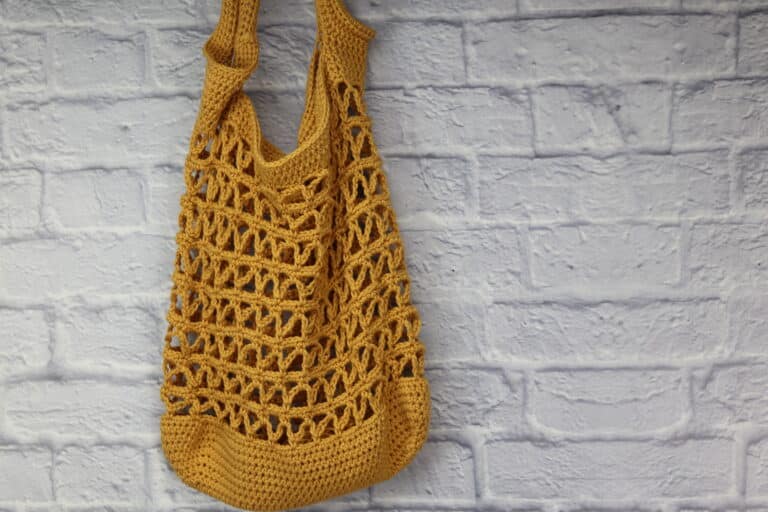
For this project I used a worsted weight yarn by Mary Maxim in the colour yellow. You may use any worsted weight yarn! (For more details, see the “Introduction and Materials” for the CAL linked in this post above.)
Hook: 5.5 mm
This pattern is worked in rows.
Stitches and Abbreviations:
Ch – Chain
Bpdc – Back Post Double Crochet
Dc – Double Crochet
Fpdc – Front Post Double Crochet
Lp – Loop
Lps – Loops
Rpt – Repeat
Sk – Skip
Sl st – Slip stitch
Yo – Yarn over
Pattern Notes:
– Pattern is written in American English
– Ch 3 at the beginning of the row counts as a dc.
– Weave in ends as needed.
Let’s Crochet!
Ch 162.
Row 1: Dc in the 4th ch from hook and in each st across. Turn.
Row 2: Ch 3 (Counts as dc), fpdc around each of the next 2 dc, * bpdc around each of the next 3 dc, fpdc around each of the next 3 dc; rpt from * across to the last 3 sts, fpdc around each of the next 2 sts, dc in the top of the ch-3. Turn.
Continue to repeat row 2 until work from the beginning measures approximately 9 inches or a little less. Fasten off and weave in ends
Edging:
Note: If you have changed the size of your blanket your will have to adjust the edging stitch counts accordingly. What matters most is that each of your panels has the same number of stitches along the edges. This will make it much easier to join them in the end! Also note that the starting chain for many of the panels is different, however they will all turn out the same size (as long as your gauge is the same) in the end.
Therefore when you work the edging you will not necessarily place 1 sc in each ch along the long edge, occasionally you will skip stitches, or even work 2 sc in a stitch. What matters is that these stitches are spread out evenly across the panel.
The edging for each panel is a simple round of sc stitches.
Proceed as follows:
With the right side facing, join yarn with a sl st in the top right corner.
Rnd 1: Ch 1, evenly work 144 sc across the top of the panel, 3 sc in the corner st, evenly work 29 sc along the short edge, 3 sc in the corner st, evenly work 143 sc across the bottom of the panel, 3 sc in the corner st, evenly work 29 sc along the next short edge, 2 sc in the final corner st; join with a sl st in the first sc. (356 sc)
Fasten off, weave in ends. Block if desired.
Video Tutorial:
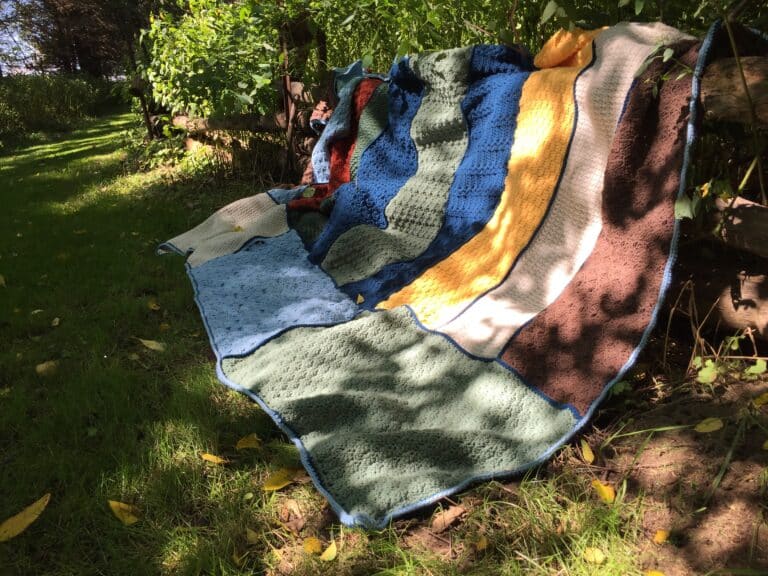
Set this panel aside and get ready for next week! We will join them all together the final week.
Check out this video tutorial for the panel below:
The photographs and pattern contained in this document are the property of Rich Textures Crochet.
This pattern is for personal use only.
No unauthorized reproduction, in whole or in part, or distribution of this pattern or content is permitted. ALL FINISHED PRODUCTS from this pattern can be used for local sales and sold online.
Thank you so much for supporting Rich Textures Crochet! To stay in touch or see more great products, be sure to visit me on Facebook and Instagram (Rich Textures Crochet). Thanks again! Happy Crocheting!


3 Comments