
This post contains affiliate links. This means that when you purchase through one of these links we will receive a small commission at no additional cost to you. Thank you for supporting Rich Texture Crochet!
Hello Everyone and welcome to week four of the Great Canadian Landscapes Crochet Along! Today we continue our crochet journey across Canada as we travel across New Brunswick!
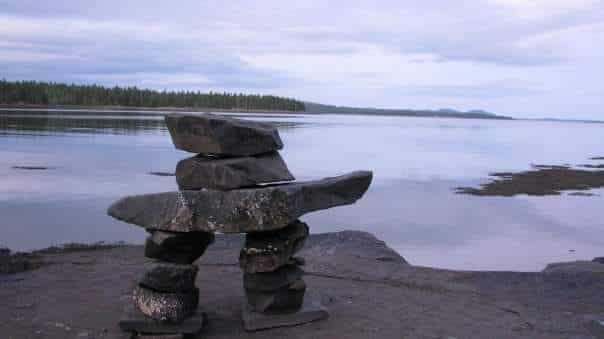
Welcome to New Brunswick, one of the four founding provinces of Canada! The province of New Brunswick is a bilingual province (English and French) and about 80% is forested. That being said it is home to some stunning landscapes and coastline being situated among the Appalachian Mountains.

(Photo Credit: St. Andrew’s, NB by Shawna)
The province boarders Nova Scotia and Quebec, although from New Brunswick you can also take a bridge across to Prince Edward Island.

(Photo Credit: St. Andrew’s, NB by Shawna)
The Panel:
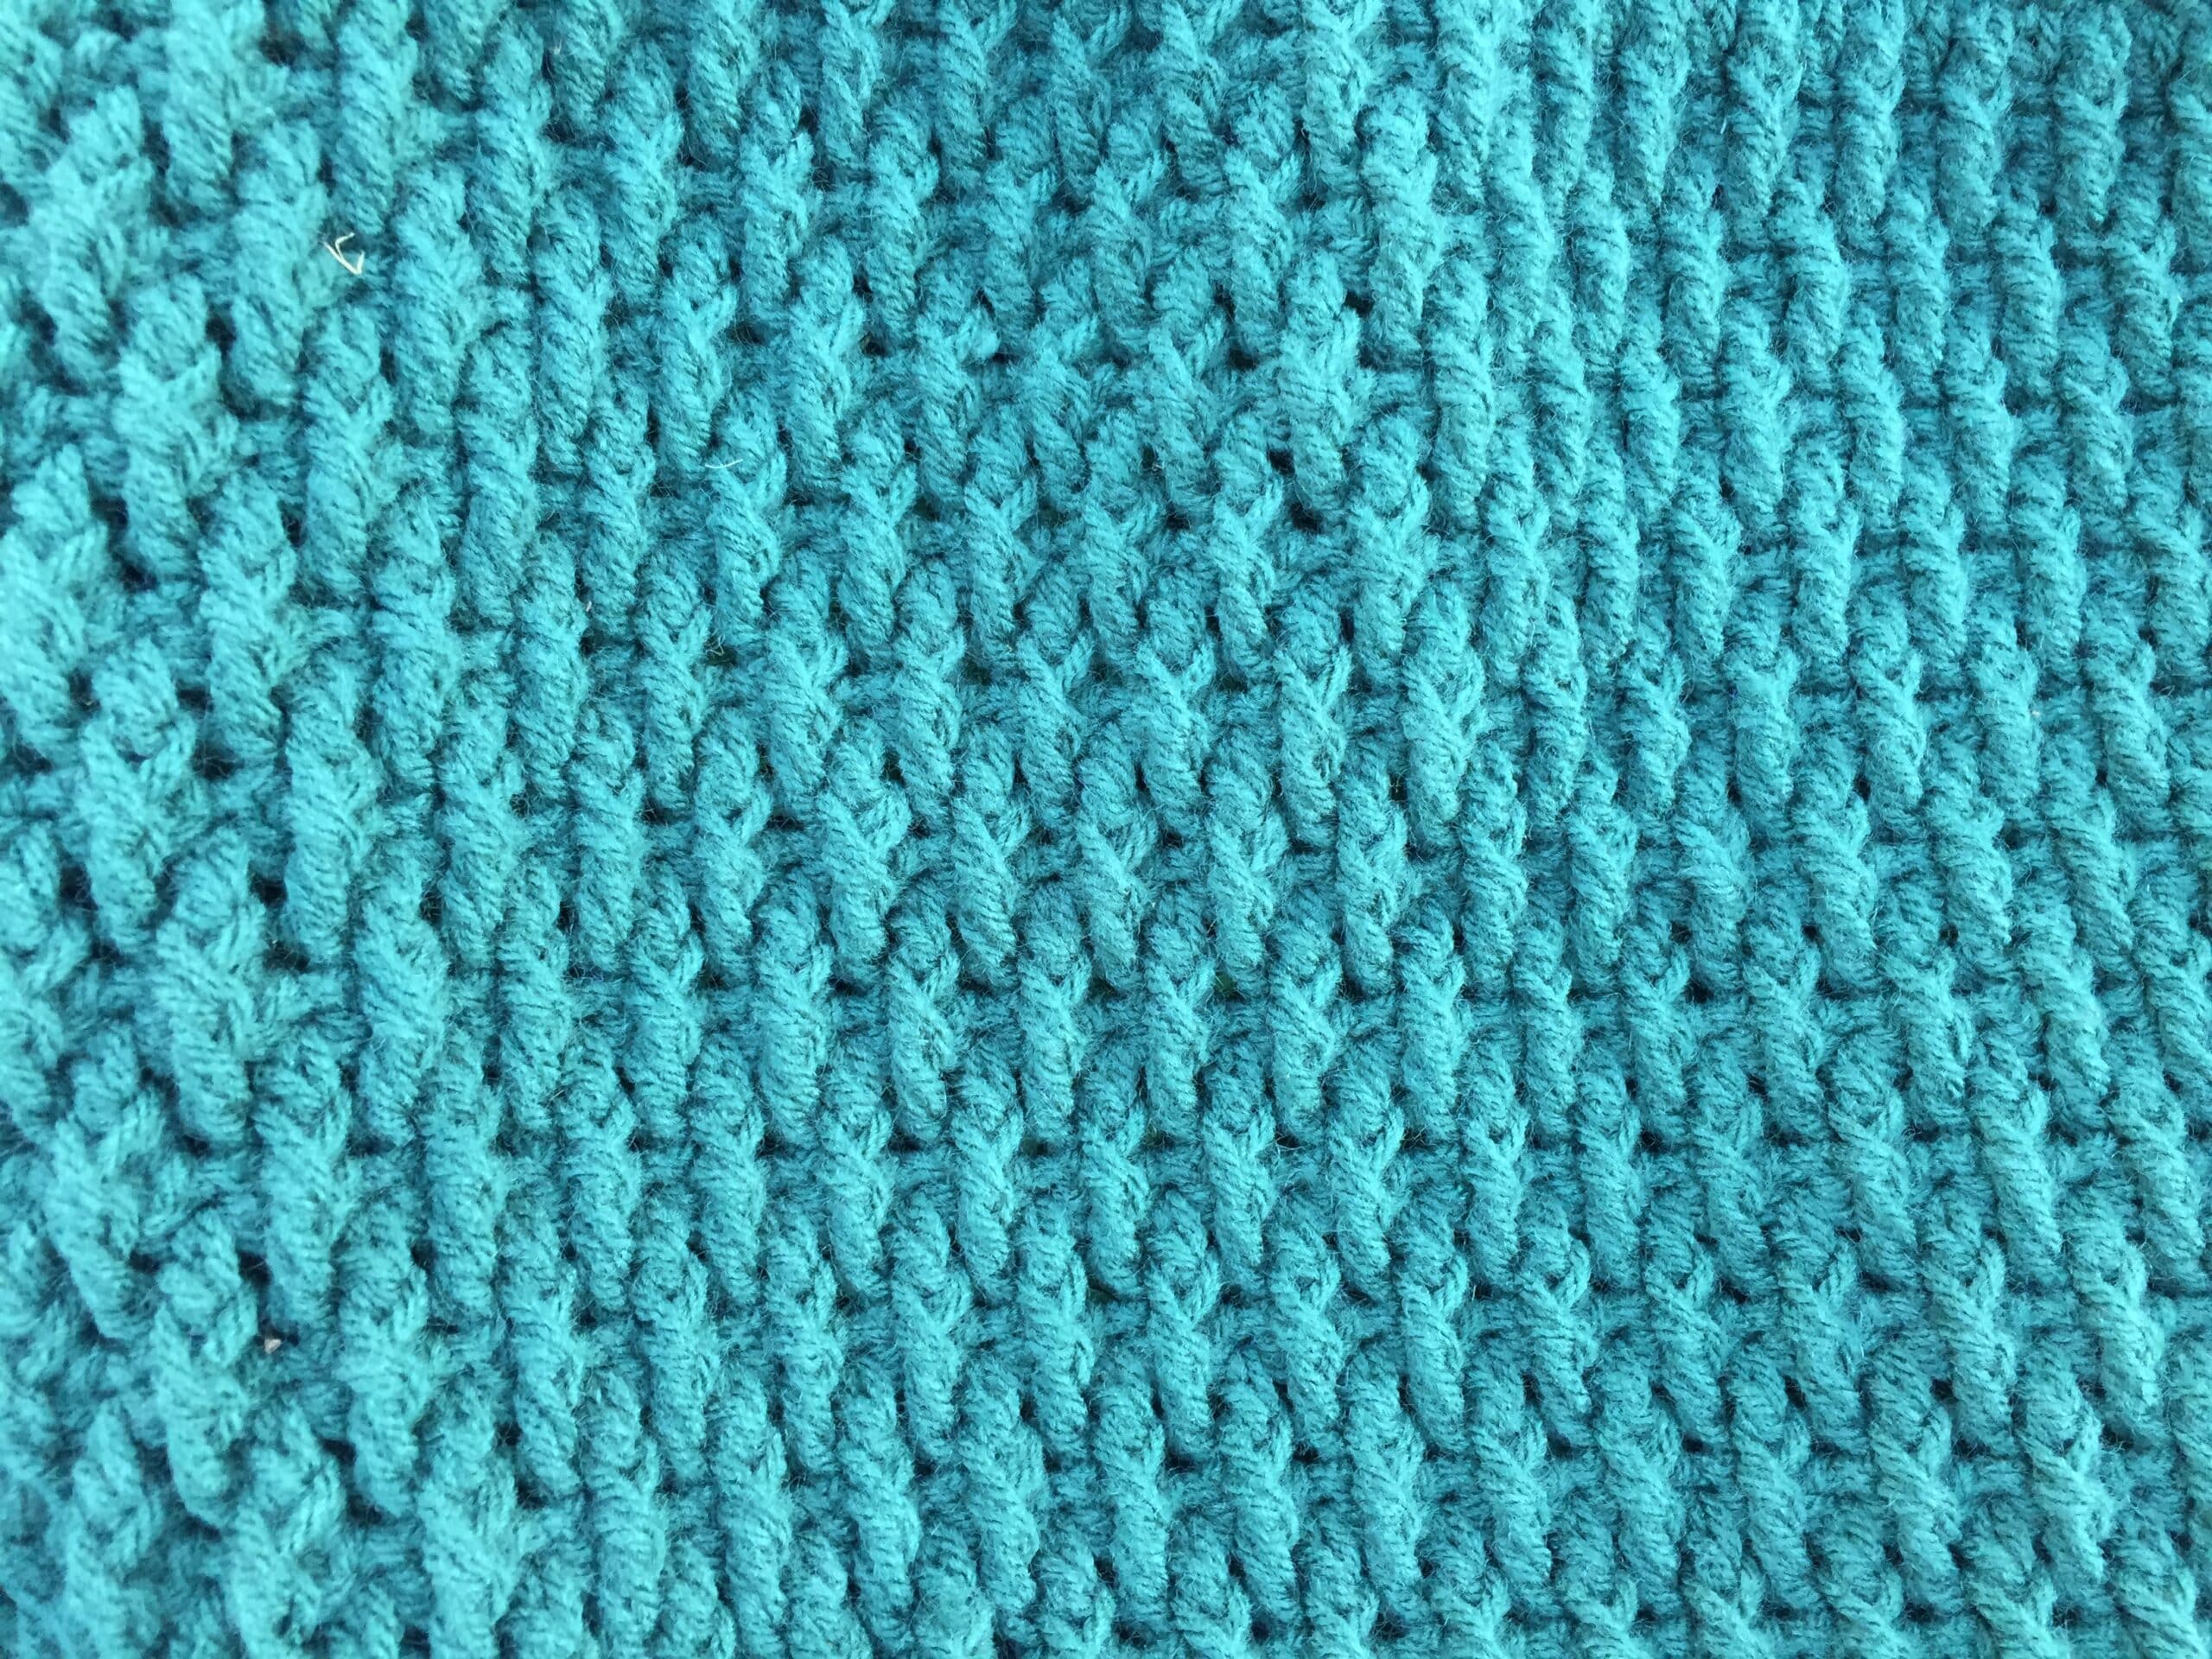
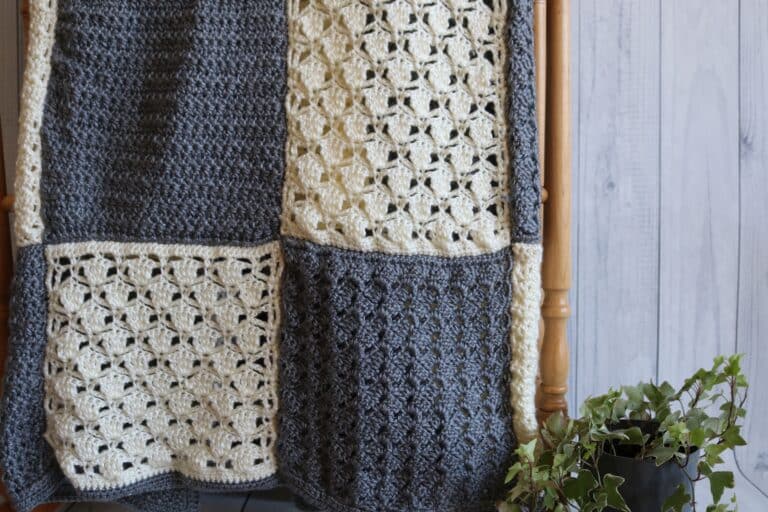
For the panel this week I have chosen a forest green colour, representative of New Brunswick’s vast forested areas. Therefore, the stitch I have chosen is sometimes called a raised ripple stitch which reminds me of little trees. It has a great texture and works up fairly quickly.
Did you miss the first three weeks and introduction of the Crochet Along? Not to worry, the links are below:
Canadian Landscapes Blanket – Crochet Along – Introduction and Materials
Great Canadian Landscapes CAL Week One!
Great Canadian Landscapes CAL Week Two!
Great Canadian Landscapes CAL Week Three!
Also, don’t hesitate to check out the video tutorial demonstrating the stitch provided following the written pattern.
Let’s Connect:
Other than that, please head over to my Facebook Page (https://www.facebook.com/richtextures/) and from there you can join the community group where you will be able to share photos and see other’s progress!
Also, you are invited to subscribe to my YouTube Channel (it’s updated weekly @ https://www.youtube.com/c/RichTexturesCrochet/ ) where you’ll find all of the pattern videos for the CAL as they become available.
Finally, thank you so much again for joining this crochet along! I look forward to meeting up again soon!
Sarah
The Pattern:
This panel measures approximately 43 x 9 inches. Should you wish to change the size, use a chain multiple with an odd number of stitches + 2.
For this project I used a worsted weight yarn by Mary Maxim in the colour Dark Green. You may use any worsted weight yarn! (For more details, see the “Introduction and Materials” for the CAL linked in this post above.)
Hook: 5.5 mm
This pattern is worked in rows.
Stitches and Abbreviations:
Ch – Chain
Dc – Double Crochet
FpTr – Front post Triple Crochet (a triple crochet worked around the post of the double
crochet two rows below)
Lp – Loop
Lps – Loops
Rpt – Repeat
Sc – Single Crochet
Sk – Skip
Sl st – Slip stitch
Yo – Yarn over
Pattern Notes:
– Pattern is written in American English
– Ch 3 at the beginning of row counts as dc
– Weave in ends as needed.
– To work around the post of the double crochet, with your hook in from of your work, yarn over twice, insert your hook from right to left behind the post of the double crochet stitch indicated two rows below. Complete the stitch as you would for a triple crochet worked in the top of the stitch. (For additional help, please see the video tutorial below)
Pattern:
Ch 147.
Row 1: Dc in the 4th chain from hook and each ch st to the end. Turn.
Row 2: Ch 1, Sc in the first st and in each across. Turn.
Row 3: Ch 3 (counts as dc), sk first Sc, * sk next Sc, but working around the post of the
dc below fptr, dc in next sc; Rpt from * to end of row, dc in the final st. Turn.
Row 4: Ch 1, Sc in the first st and in each across. Turn.
Row 5: Ch 3, sk first sc, dc in next sc, * sk next Sc, but working around the post of the
dc below fptr, dc in next sc; Rpt from * to end of row, dc in the final st. Turn. (note: at the end of this row you will have 1 dc in each of the last two sts just as you had dc in the first two)
Continue to repeat rows 2-5 until work from the beginning measures approximately 9 inches or a little less. Fasten off and weave in ends.
Edging:
Note: If you have changed the size of your blanket your will have to adjust the edging stitch counts accordingly. What matters most is that each of your panels has the same number of stitches along the edges. This will make it much easier to join them in the end! Also note that the starting chain for many of the panels is different, however they will all turn out the same size (as long as your gauge is the same) in the end. Therefore when you work the edging you will not necessarily place 1 sc in each ch along the long edge, occasionally you will skip stitches, or even work 2 sc in a stitch. What matters is that these stitches are spread out evenly across the panel.
The edging for each panel is a simple round of sc stitches. Proceed as follows:
With the right side facing, join yarn with a sl st in the top right corner.
Rnd 1: Ch 1, evenly work 144 sc across the top of the panel, 3 sc in the corner st, evenly work 29 sc along the short edge, 3 sc in the corner st, evenly work 143 sc across the bottom of the panel, 3 sc in the corner st, evenly work 29 sc along the next short edge, 2 sc in the final corner st; join with a sl st in the first sc. (356 sc)
Fasten off, weave in ends. Block if desired.
Video Tutorial:
Set this panel aside and get ready for next week! We will join them all together the final week.
Check out this video tutorial for the panel below:


3 Comments